In this blog, we will explore Google Kubernetes Engine. We will setup a Kubernetes Cluster using Google Kubernetes Engine(GKE) Service which is provided by Google.
Check out the YouTube video for this article
With GKE, we don’t need to build a cluster from scratch. Instead, clusters can be launched and turned down on demand.
Check out my GCP For beginners tutorial if you are not familiar with GCP.
Introduction
We can create Kubernetes Engine cluster using GCP console or using gcloud CLI.
CLI is a more flexible way to make the operation repeatable or to integrate it with your existing pipeline.
Prerequisite
1. GCP Project Created
2. gcloud CLI configured
Follow my Youtube video or blog to setup the prerequisite.
Agenda:
- Creating a VPC
- Enable Kubernetes Cluster API
- Create a Kubernetes cluster
- Install Kubectl and check cluster details
- Connect to the cluster from other machine
- How Kubernetes Cluster Works
- Kubernetes-dashboard
- Run sample nginx service
- Use
port-forwardto access the nginx service on browser
Creating a VPC
Now we will create a new VPC in our GCP project using below command
gcloud compute networks create vpc-k8s
If the api is not enabled in your project then you will see the below prompt:

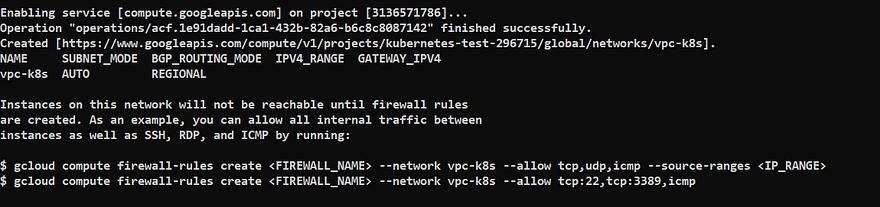
VPC is created successfully.
Enable Kubernetes Cluster API
We need to enable the Kubernetes API for every project in GCP. If API is not enabled then you will see the below error
ERROR: (gcloud.container.clusters.create) ResponseError: code=400, message=Failed precondition when calling the ServiceConsumerManager: tenantmanager::185014: Consumer 12132323232(project number) should enable service:container.googleapis.com before generating a service account.
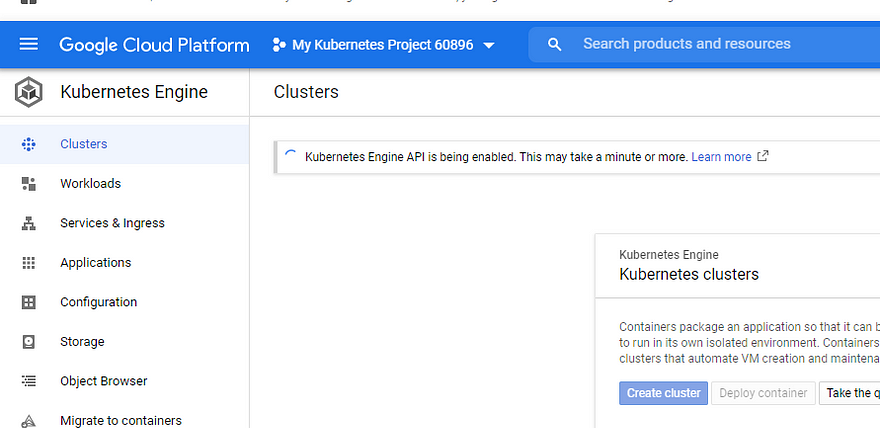
- Go to https://console.google.com.
- Select Kubernetes engine which is under Compute section
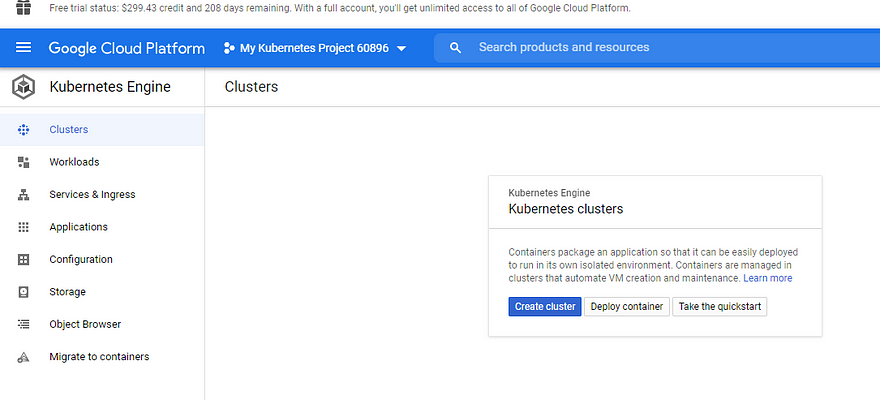
- Select “Clusters”
- Check for the message “Kubernetes engine API is being enabled”
Create a Kubernetes cluster
Now let’s create a Kubernetes cluster using some parameters
- Cluster name
my-k8s-cluster - Number of nodes
3 - VPC Name
- Zone
- Tag
- Scopes
gcloud container clusters create my-k8s-cluster --num-nodes 3 --network vpc-k8s --zone us-central1-a --tags private --scopes=storage-rw,compute-ro
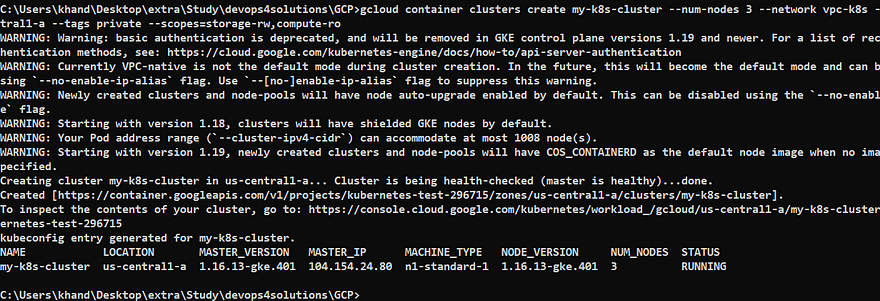
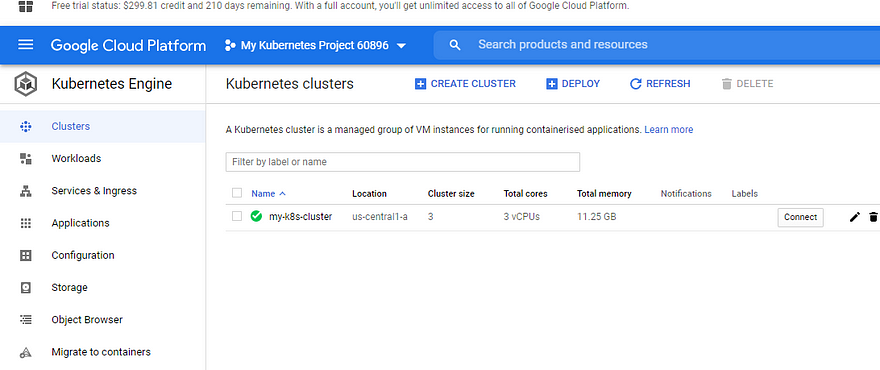
Cluster is created successfully and its in running state.
Kubernetes provide kubectlas a command line utility to check cluster status, node details etc.
So, let’s install kubectl if you have not installed it on your machine.
Install Kubectl
Install kubectl from here
On windows, download the exe file and add an Environment variable in your System path.
Now let’s run some kubectl commands to check the cluster details
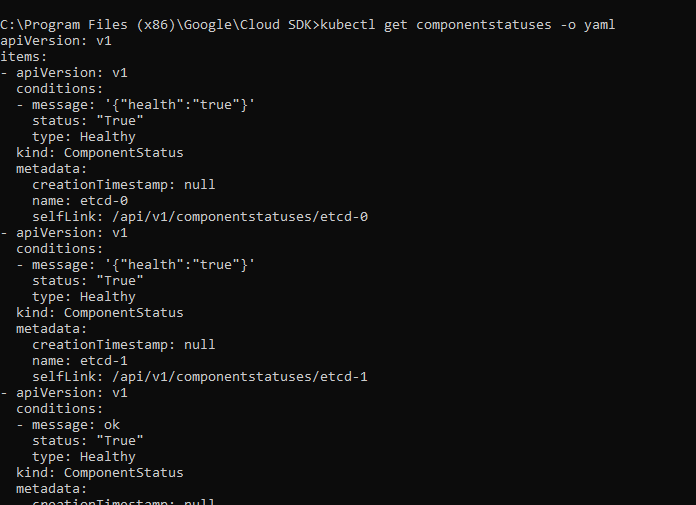
- Check cluster health
kubectl get componentstatuses -o yaml
2. Check the nodes inside the cluster:
kubectl get nodes

3. Check cluster info:
kubectl cluster-info

4. Check cluster on GCP console directly
How to connect to the cluster from other machine
If you will try to connect to the cluster from the another machine then you need to run the below command to add the credentials in that new machine.
gcloud container clusters get-credentials my-k8s-cluster --zone us-central1-a --project my-kubernetes-project-60896
If you will run the kubectl get pod command directly without running the above command then you will see the below error
kubectl unable to connect to server: x509: certificate signed by unknown authority
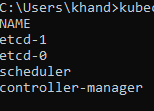
How Kubernetes Cluster Works
gcloud command creates a Kubernetes cluster with
- three nodes,
- controller manager
- scheduler
- etcd cluster with two members.
Kubernetes master is launched with some services –
- default backend used by the controller,
- KubeDNS for DNS services in the cluster,
- metrics-server for resource usage metrics.
kubectl get svc --all-namespaces

Kubernetes-dashboard
This is a dashboard where you can see all the details of pods/nodes/CPU utilization etc.
Follow their official documentation for more details
To access a dashboard you need deploy the kubernetes-dashboard service using below command.
kubectl apply -f https://raw.githubusercontent.com/kubernetes/dashboard/v2.0.0/aio/deploy/recommended.yaml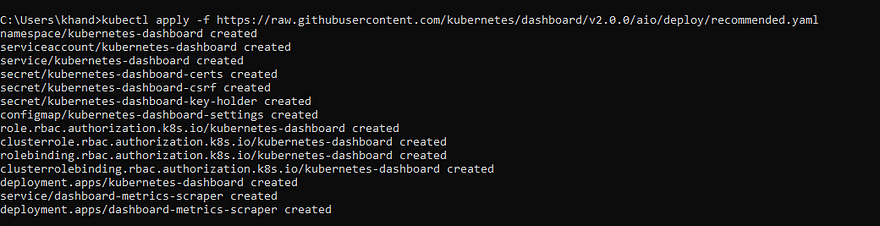
This service is created under a different namespace kubernetes-dashboard
To check the pods and services, run the below command
kubectl get pods -A
kubectl get svc --all-namespaces

Now to access the dashboard using GUI, run the below command
kubectl proxy

Open the below url on the browser
http://localhost:8001/api/v1/namespaces/kubernetes-dashboard/services/https:kubernetes-dashboard:/proxy/#/login
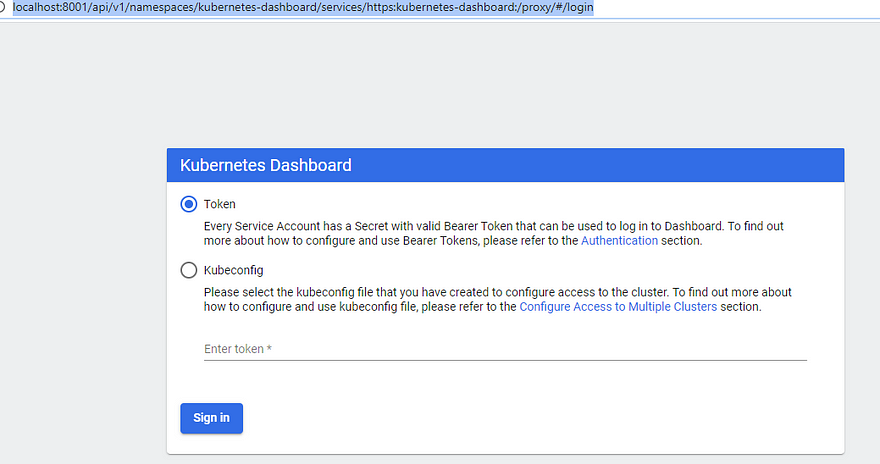
How to Login
We can check if any existing user is there. Firstly, we need to know our current context name. Context combines of cluster information, users for authentication, and a namespace:
kubectl config current-context

After we know the context name, we can describe it via the kubectl config view
kubectl config view
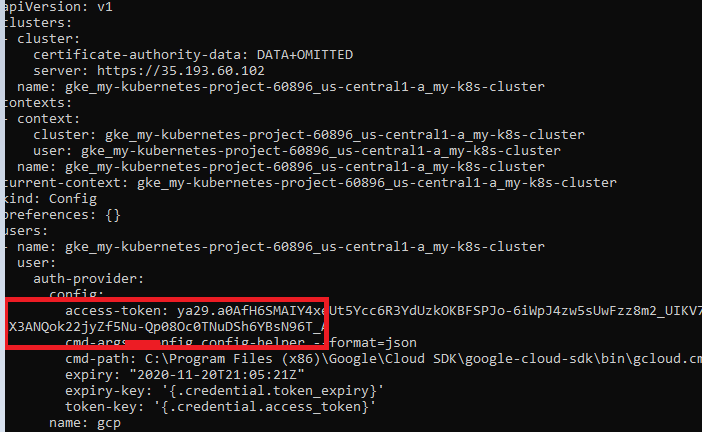
We found an existing user token which we can use to login to kubernetes dashboard console.
Run Nginx Service deployment
kubectl run nginx-pod --image nginx
kubectl get pods

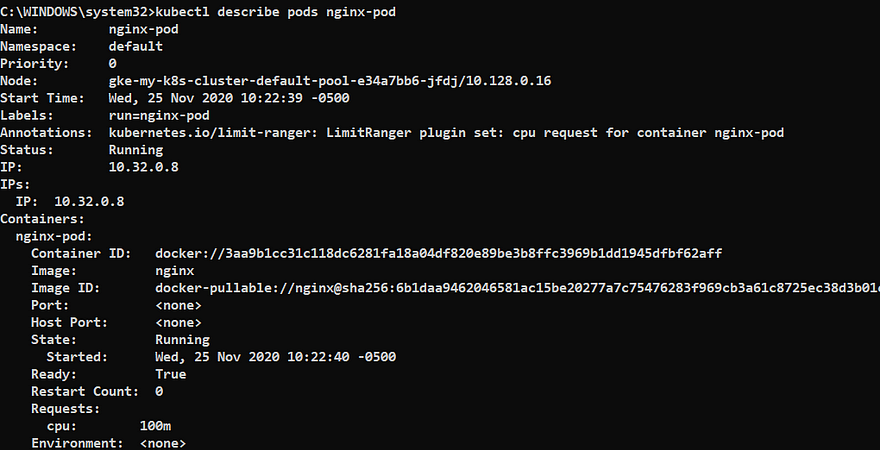
Describe the pods
kubectl describe pods nginx-pod
kubectl describe pods nginx-pod > output.yaml
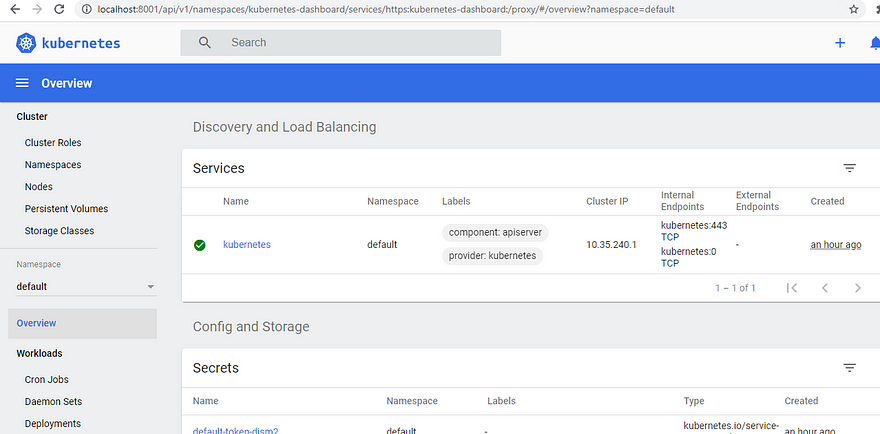
On the console
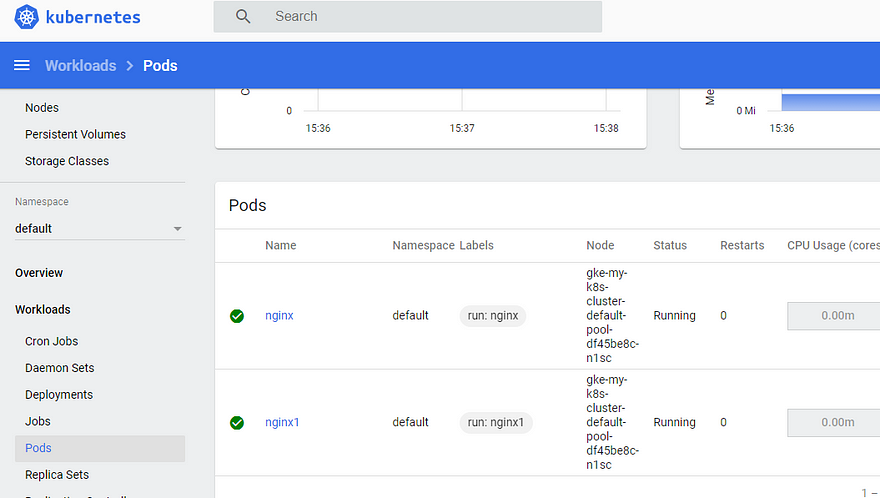
How to access pod
Get the pod name
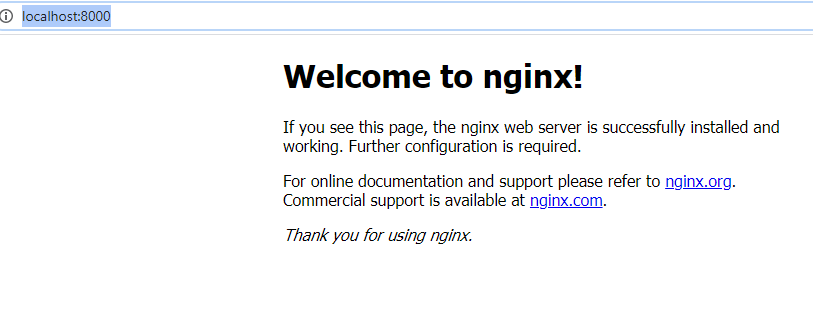
kubectl port-forward nginx-pod 8000:80

Now access the browser
http://localhost:8000/
Congratulations, you have successfully explore Google Kubernetes Engine and ran the sample nginx application.
References
- Safari Link