In this blog, we will explore how to Deploy Java Application on Heroku.
Please follow this link for the initial setup of Heroku
Prerequisite
- Free Heroku Account. Click Here
- Git
- Java8
- Maven3
Sample Java Application
- Clone the github repo
git clone https://github.com/heroku/java-getting-started.git2. Deploy app. You can specify the app name else it will take any random name
heroku create java-devops4solution
heroku apps
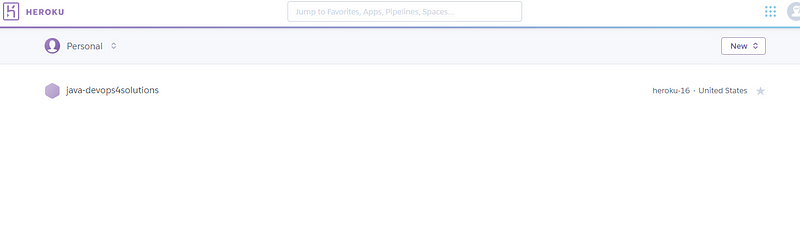
You will see same app created on your heroku dashboard
3. Deploy it
git push heroku master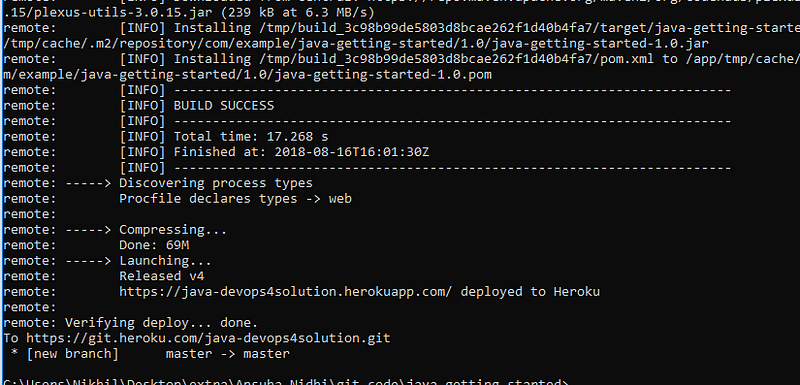
4. Run dynos
heroku ps:scale web=1
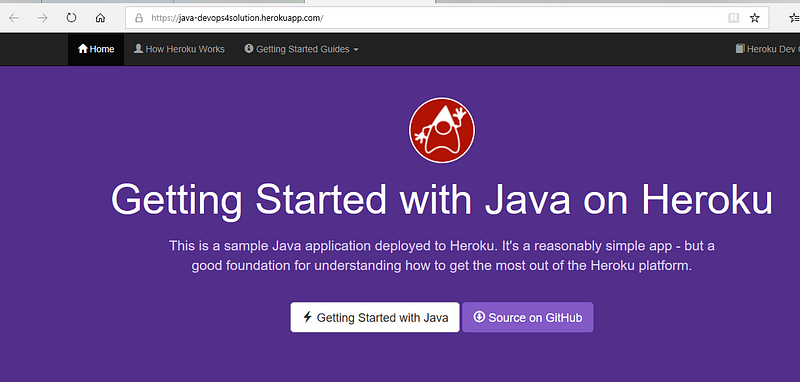
5. Open application
heroku openThis command will open the url on the browser
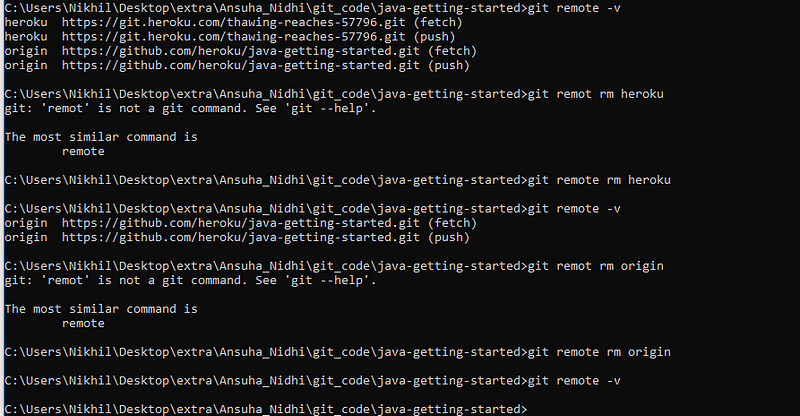
When you create an app, a Git remote (named heroku) is also created and associated with your local Git repository.
Run — git remote -v

How this sample application works
Firstly, you need a Procfile which is already present in the github because of that this sample application works
So, what is Procfile
Heroku apps use a special plaintext file called the Procfile to explicitly declare what command should be executed to start your app.
The Procfile in the example app you deployed looks like this:
web: java -jar target/java-getting-started-1.0.jarThis declares a single process type, web, and the command needed to run it. It declares that this process type will be attached to Heroku’s HTTP routingstack, and it will be able to receive web traffic.
Check Process
heroku ps
How to remove old existing local git repo
git remote rm origin
Setup Locally
- Navigate to your directory and run the below command
mvn clean install
heroku local web
Open http://localhost:5000 with your web browser. You should see your app running locally.
How to push local changes
- Edit pom.xml — Add this dependency
<dependency>
      <groupId>org.jscience</groupId>
      <artifactId>jscience</artifactId>
      <version>4.3.1</version>
    </dependency>
2. Now add the following import statements to src/main/java/com/example/Main.java to import the library:
import static javax.measure.unit.SI.KILOGRAM;
import javax.measure.quantity.Mass;
import org.jscience.physics.model.RelativisticModel;
import org.jscience.physics.amount.Amount;
3. Add the following hello method to Main.java:
@RequestMapping("/hello")
String hello(Map<String, Object> model) {
    RelativisticModel.select();
    Amount<Mass> m = Amount.valueOf("12 GeV").to(KILOGRAM);
    model.put("science", "E=mc^2: 12 GeV = " + m.toString());
    return "hello";
}
4. Finally, create a src/main/resources/templates/hello.html file with these contents:
<!DOCTYPE html>
<html xmlns:th="http://www.thymeleaf.org" th:replace="~{fragments/layout :: layout (~{::body},'hello')}">
<body>
  <div class="container">
    <p th:text="${science}"/>
  </div>
</body>
</html>
5. Now test it locally
mvn clean install
heroku local web
Open the url http://localhost:5000/hello and validate
6. Now commit your local change using basic git command
git add .
git commit -m "demo"
git push heroku master
heroku open hello