Terraform is cloud agnostic, that means it can be use to automate the infrastructure building process for different cloud providers including public (like: AWS, Azure, DigitalOcean, Google Cloud) and private cloud and virtualization platforms (like: OpenStack and VMWare). With this blog we will learn deploying ec2 instance with Terraform and we will also deploy a simple web server.
So let’s start writing your .tf file:
Terraform code can be written in any text editor and save the file with “.tf” extension. Terraform code is written in HCL (HashiCorp COnfiguration Language), which is a declarative language. In the .tf file you need to write script (which is very easy and readable) specifying the infrastructure you wish to create, and Terraform will deduce how to create it.
Pre-requisite:
- AWS account.
- EC2 Ubuntu instance.
- Terraform installed.
- AWS CLI installed & configured.
Step 1. Putty/SSH into your ec2 Ubuntu instance. (In order to learn how to create one, click here).
Step 2. Create a folder (e.g. terraform-projects) and create a file (e.g. main.tf).
$ mkdir terraform-projects
$ cd terraform-projects
$ touch main.tf
Step 3. Open the main.tf with a text editor (e.g. vi)
$ vi main.tf
Step 4. Write the following script in main.tf and let’s understand it block by block.
resource “aws_security_group” “websg” {
 name =”terraform-webserver-websg”
ingress{
 from_port = “${var.server_port}”
 to_port = “${var.server_port}”
 protocol =”tcp”
 cidr_blocks = [“0.0.0.0/0”]
 }
}
resource “aws_instance” “webserver”{
 ami = “ami-40d28157”
 instance_type = “t2.micro”
 vpc_security_group_ids = [“${aws_security_group.websg.id}”]
tags{
 Name = “terraform-first-example”
 }
user_data = <<-EOF
 #!/bin/bash
 echo “Hello,World” > index.html
 nohup busybox httpd -f -p “${var.server_port}” &
 EOF
}
variable “server_port” {
 description = “The port the server will use for HTTP requests”
default = 8080
}
Script Interpretation:
[I]. Input Variable
variable “server_port” {
 description = “The port the server will use for HTTP requests”
 default = 8080
}
In order to implement DRY (Don’t Repeat Yourself) principle, that is rather than repeating same data again and again at different places, it is the best practice to declare a variable for the same. This makes it easier and unambiguous. Also, when an update is required, you need to do modification only at the source (i.e. in variable definition).
In Terraform, one can define input variable with the syntax:
variable “Variable_Name” {
 description = “example of list type”
 type = "list"
 default = [1,2,3]
}
variable “Variable_Name” {
 description = “example of map type”
 type = "map"
default = {
    key1 = "value1"
    key2 = "value2"
}
}
*Note: If no type is mentioned then terraform will assume the type that resembles the default value type. However, if default value is also not specified then String type is considered.
*In our case Variable Name is : server_port and default value is 8080.
[II]. Security Group creation
As, shortly we will create an EC2 instance and deploy a web server on it. AWS on its own will not allow incoming or outgoing traffic from its EC2 instance. It has to be within a security group which defines the incoming and outgoing port range.
In our case we want to allow our EC2 instance to receive traffic from port number 8080. Following is the script to do so.
resource “aws_security_group” “websg” {
 name =”terraform-webserver-websg”
ingress{
 from_port = “${var.server_port}”
 to_port = “${var.server_port}”
 protocol =”tcp”
 cidr_blocks = [“0.0.0.0/0”]
 }
}
“aws_security_group” : type of AWS resource
“websg” : name by which terraform will recognize this resource
“terraform-webserver-websg” : name of the security group that will be reflected on your AWS console.
*Note: Rather then using value 8080, we have used interpolation : “${var.server_port}” , this is a way to extract value of variable server_port defined earlier.
[III]. AWS instance creation
resource “aws_instance” “webserver”{
 ami = “ami-40d28157”
 instance_type = “t2.micro”
 vpc_security_group_ids = [“${aws_security_group.websg.id}”]
tags{
 Name = “terraform-first-example”
 }
“aws_instance” : type of resource
“webserver” : name of the resource identified by terraform
“terraform-first-example” : name/tag reflected on AWS console
ami : type of amazon machine image
instance_type provided by AWS
vpc_security_group_ids : As we have created security group earlier, but we need to tell ec2 instance to use this security specifications. In order to do it, we have to pass the value of ID attribute of security group into the vpc_security_group_ids parameter of created aws_instance.
To fetch the security group id, use the following interpolation syntax:
“${aws_security_group.websg.id}”
[IV]. Deploying a single web server
user_data = <<-EOF
 #!/bin/bash
 echo “Hello,World” > index.html
 nohup busybox httpd -f -p “${var.server_port}” &
 EOF
}
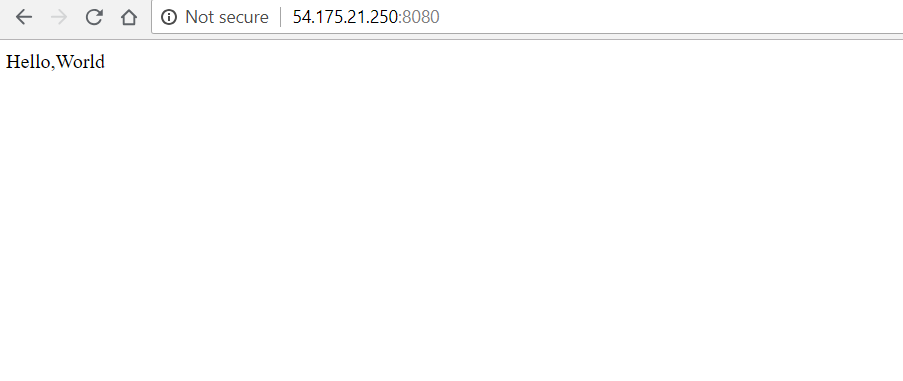
This is a simple bash script which is writing “Hello, World” into index.html. It runs a busybox (which is by default installed on Ubuntu) tool , in order to fire up a web server on port 8080 (as defined by interpolation syntax using server_port variable). It is enclosed between nohup and & , to run web server permanently in the background.
*Note: <<-EOF and EOF are Terraform’s heredoc syntax, allows multiline string creation without inserting newline characters.
Step 5. Run the following commands within the project
$ terraform init
$ terraform plan
$ terraform apply

Your infrastructure is build, you can check on your AWS console. Also use, the IP address of your created EC2 instance and on web browser type : <ip_address>:8080
You can see