In this blog, we will install Docker, setup the dockerhub account and run the test images in a container. Refer my docker article for the basic understanding
Install Docker on AWS EC2 instance
We will be using using yum install for the installation. If you have other OS, then please follow official documentation for the installation
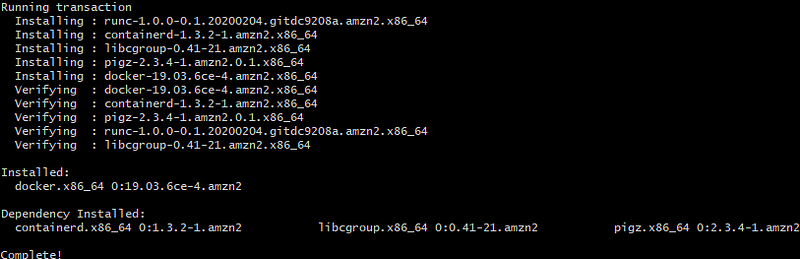
sudo yum update -y
sudo yum install -y docker
Start Docker
sudo service docker start
sudo service docker status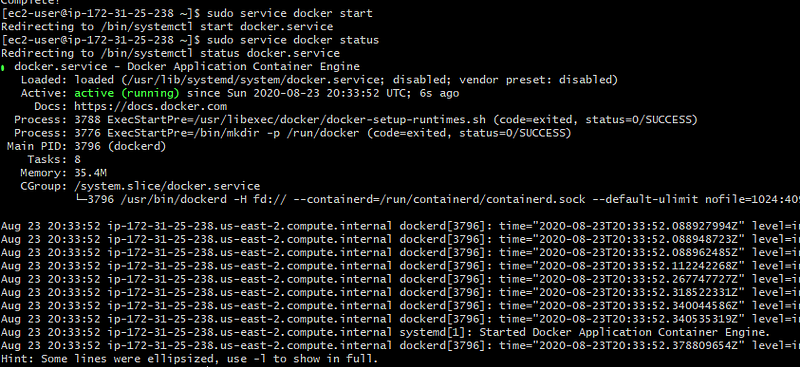
Check the docker version

docker imagesYou will see this error “permission denied while trying to connect to the Docker daemon socket at unix:///var/run/docker.sock”.

To fix this error,you need to add your user to the docker group as shown below:
sudo usermod -a -G docker ec2-userNow disconnect from the server and connect again
Run the same command and you should be able to see all the images which are present on your system
docker images

Docker has installed successfully.
Docker Images
A docker image is a template with specific instructions for running your application in a container. It is an immutable file which contains instructions to get the source code from repo, get all the dependencies,tools and other files which are required to build your application For ex- You need a run a java container then you can directly use the images which are provided by vendor.DockerHub
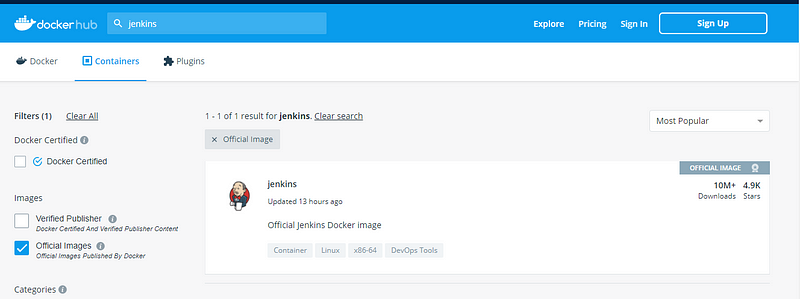
DockerHub is a place where you can find all the images for any tool which is provided by the vendor directly.
Let’s say you want to run a jenkins inside a container then you can go to Dockerhub and find the official image which is directly provided by the Jenkins and use that.
Signup for dockerhub ?
- When you are building an application then you need a place to store your images so that it can use be used across your teams and can integrated with your CI/CD tools.
- Dockerhub is a repository which is used to store lot of images(with tags)
- Sign up and start using dockerhub to store your own images
Test Docker installation
We will use hello-world image which is already present in the dockerhub to test our installation
docker run hello-world
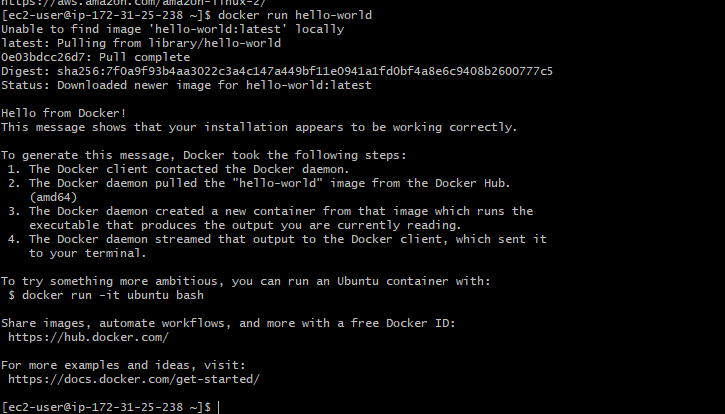
If you see the message “Hello from Docker” that means docker is installed successfully.
Now if you will again run docker images then you should be able to see hello-world as shown below

We have seen how to use the existing images which are present in Dockerhub. Now we will explore how we can create our own image and push it in Dockerhub
Build Docker Image
To build a docker image,you need a Dockerfilewith set of instructions as per your application. Here, we are using a sample Dockerfile for running a nginx container
- Clone the docker sample git repo
FROM nginx
COPY html /usr/share/nginx/html
CMD ["./wrapper.sh"]
- Build an image using
docker build. -tis used to provide the name of your image and you can provide the tag in the ‘name:tag’ format
docker build -t nginxtest .
docker build -t nginxtest:v1 .
docker images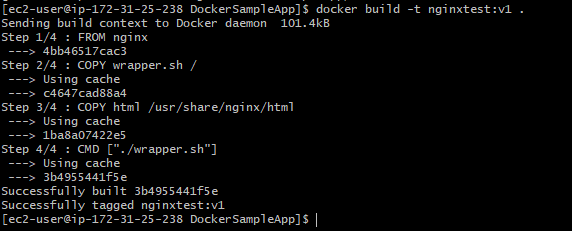

- You can see two images are created one with the version as
latest, and another with the tag asv1
Run the container
Now we will run the container using port forwarding.
Port-forwarding is used to expose the container’s port 80 (standard http port) on the host’s port 4001
docker run -p 4001:80 nginxtest
- This will run the container in attached mode that means container will exited as soon your exit from your window.
- If you use the port which is already being used by another container then you will see the “bind error: port is already allocated” as shown below
- Make sure that
4001port is not being used by any other container

Run the container in detached mode
This will run the container in the background. Even if you disconnect from the machine container will be running without any issues.
docker run -d -p 4001:80 nginxtest

Now you can see that container is up and running using below command:
docker ps

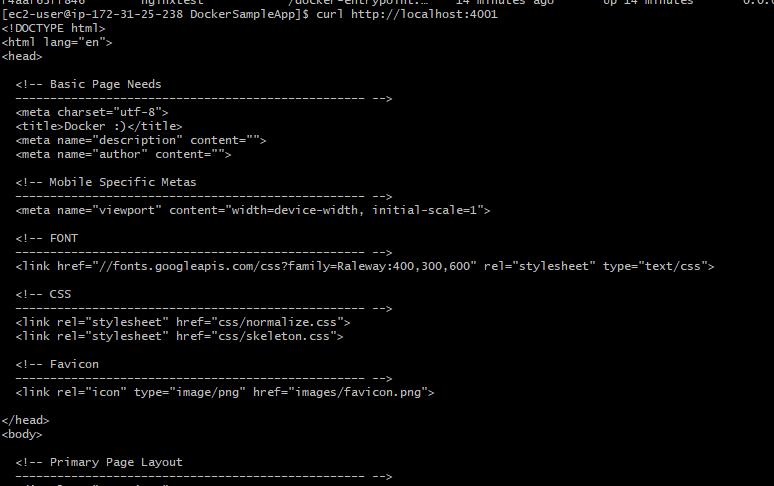
Finally, you can browse the url using curl directly on the server and you should be see the response in html format as shown below:
curl http://localhost:4001
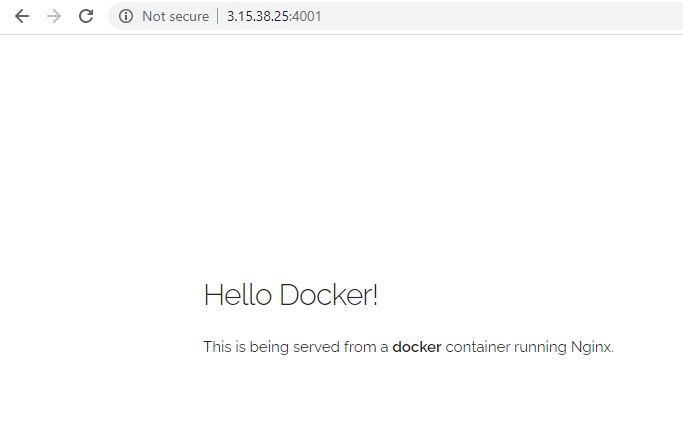
You can also browse the url on the webpage, make sure that AWS EC2 instance has an TCP inbound rule open for this port
Push image in Docker Hub
Now we will login to our dockerhub account and push the image
docker login
docker tag nginxtest nikhilnidhi/nginxtest:v1
docker push nikhilnidhi/nginxtest:v1
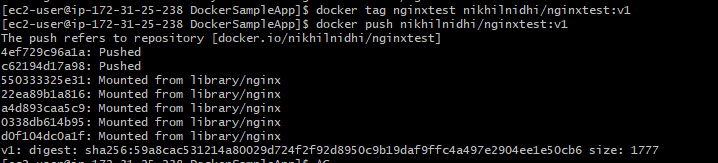
This image is pushed at the dockerhub and anyone can use it for their testing
docker pull nikhilnidhi/nginxtest:v1
docker run -p 4000:80
docker run -p 4000:
Finally, we have explored how to install docker and how to push your customized image in dockerhub.