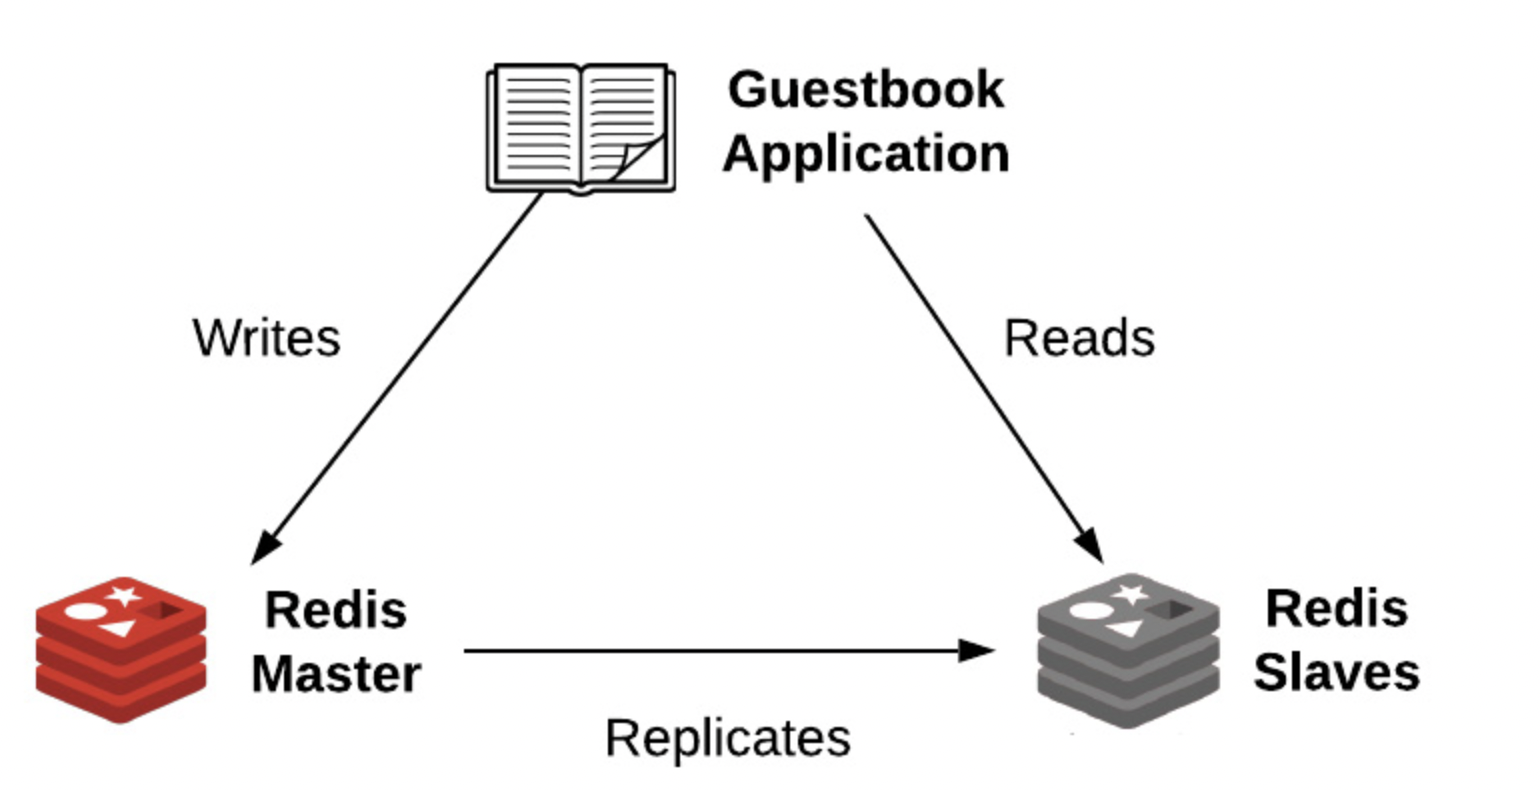
In this blog, we will be deploying this guestbook application using helm and add the Redis as a dependency.
Checkout my Youtube video on this blog
Prerequisite
- Kubernetes Cluster Setup
- Clone this git repo
Setup a helm project
helm create guestbook
rm -rf guestbook/templates/tests
Adding a Redis Chart dependency
Chart dependencies are used to install other charts’ resources that a Helm chart may depend on.
In this example, we are using Redis as a database so we to need add this as a dependency.
First we can search the charts for redis
helm search hub redis
Now we will add the dependency section in the Charts.yaml file
dependencies:
  - name: redis
    version: 12.7.x
    repository: https://charts.bitnami.com/bitnami
How to download this dependency?
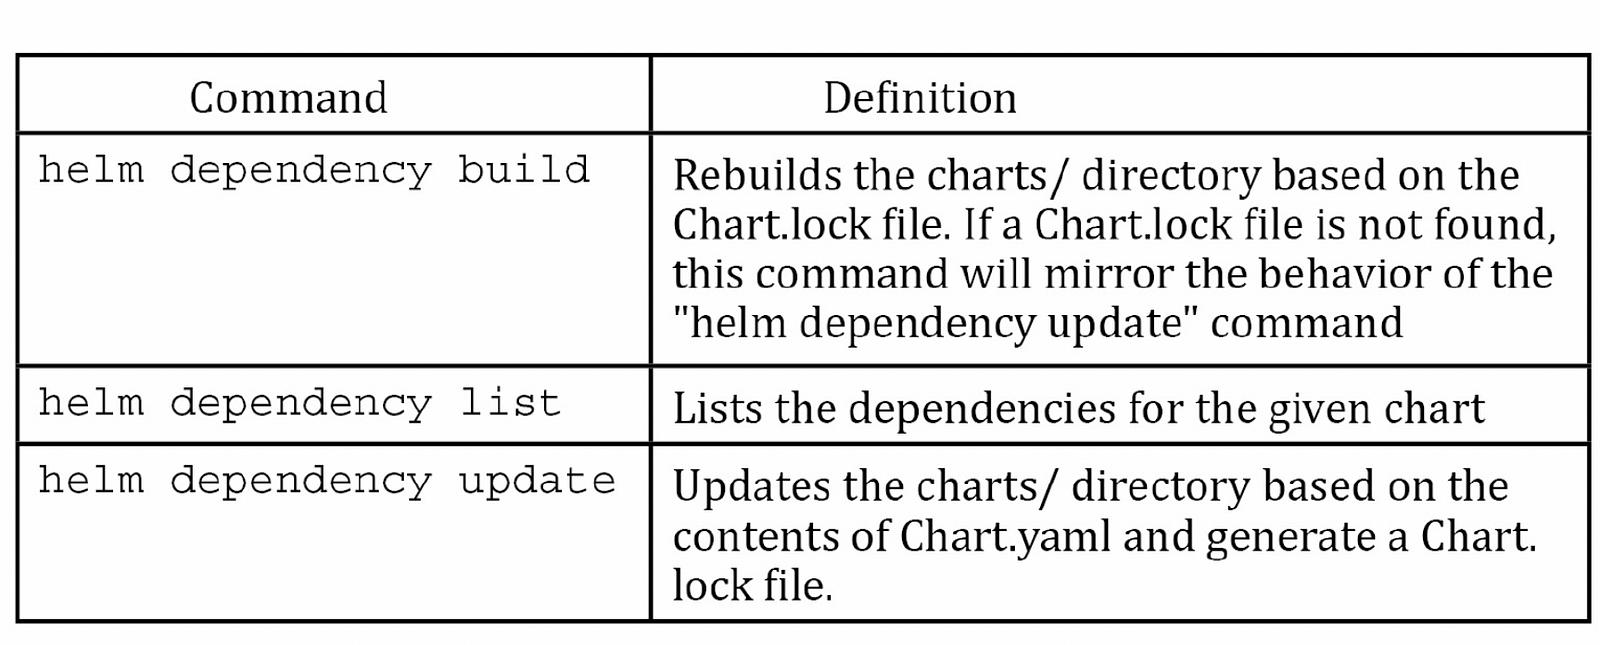
When downloading a dependency for the first time, you should use the helm dependency update command.
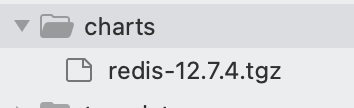
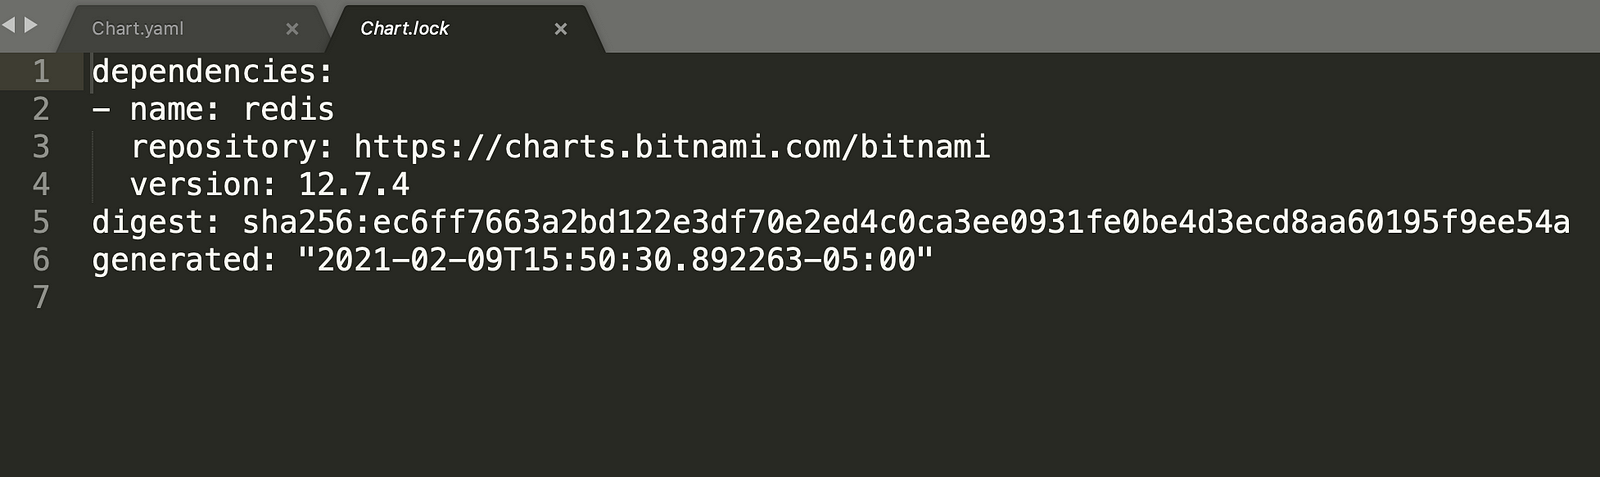
This command will download your dependency to the charts/ directory and will generate the Chart.lock file, which specifies metadata about the chart that was downloaded.
helm dependency update guestbook
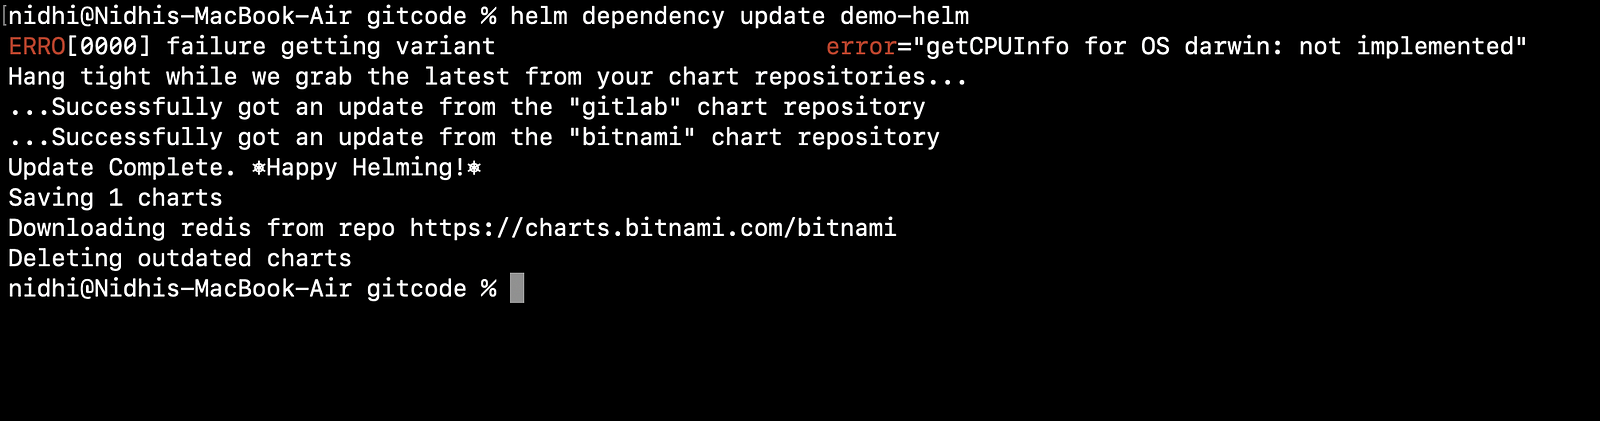
Now you should see that it has downloaded the dependency and also updated the Chart.lock file
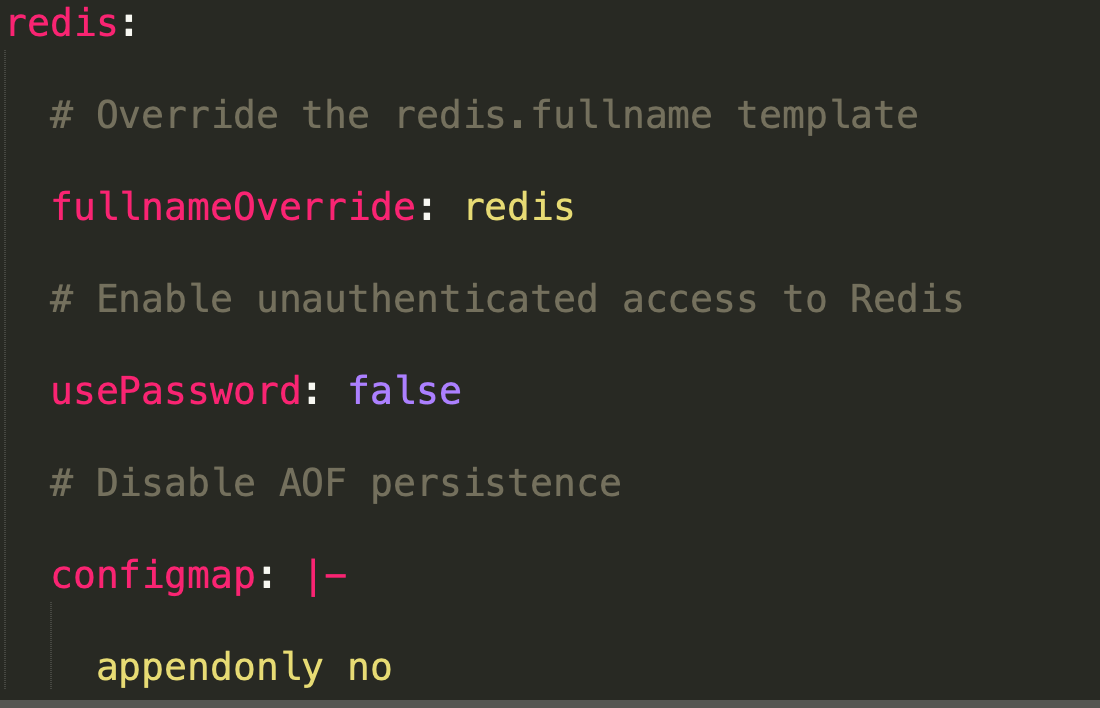
ADDING VALUES TO CONFIGURE THE REDIS CHART
You can override the default values of Redis chart using values.yaml file
Modify frontend application
By default it has created these templates
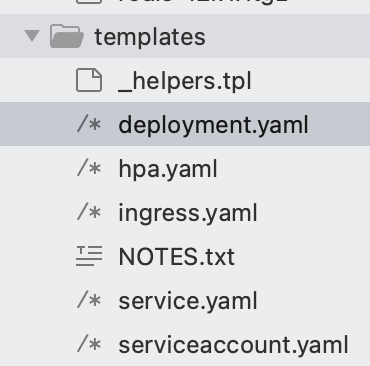
- deployment.yaml: Used to deploy the Guestbook application to Kubernetes.
- ingress.yaml: Provides one option to access the Guestbook application from outside the Kubernetes cluster.
- serviceaccount.yaml: Used to create a dedicated serviceaccount for the Guestbook application.
- service.yaml: Used to load-balance between multiple instances of the Guestbook application. Can also provide an option to access the Guestbook application from outside the Kubernetes cluster.
- _helpers.tp: Provides a set of common templates used throughout the Helm chart.
- NOTES.txt: Provides a set of instructions used to access the application after it is installed.
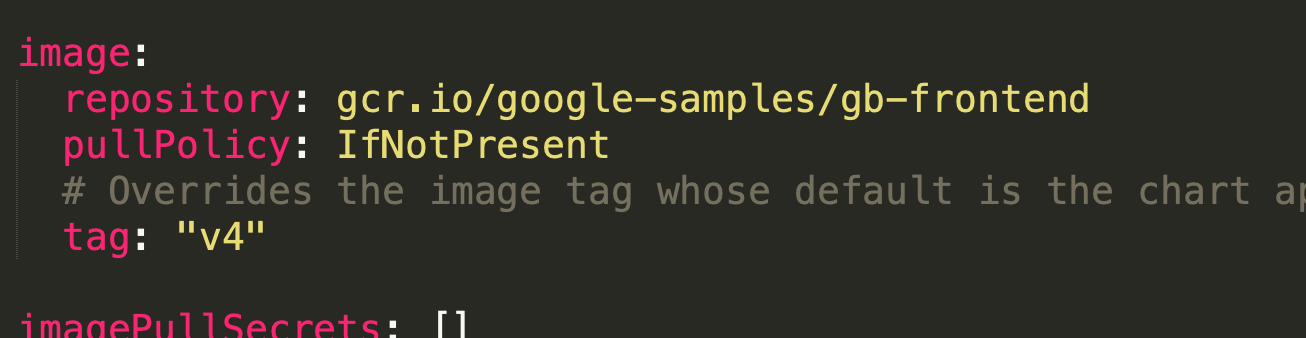
In the values.yaml file you can change the default image to the one which you want to use for your application
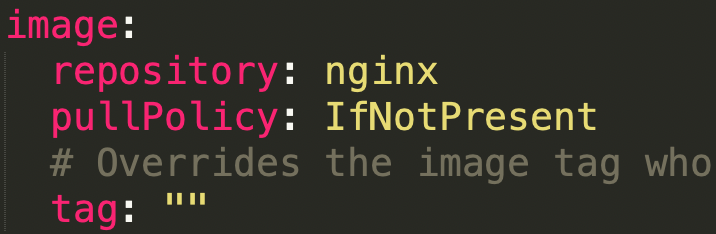
Now we will update this image as per our requirement
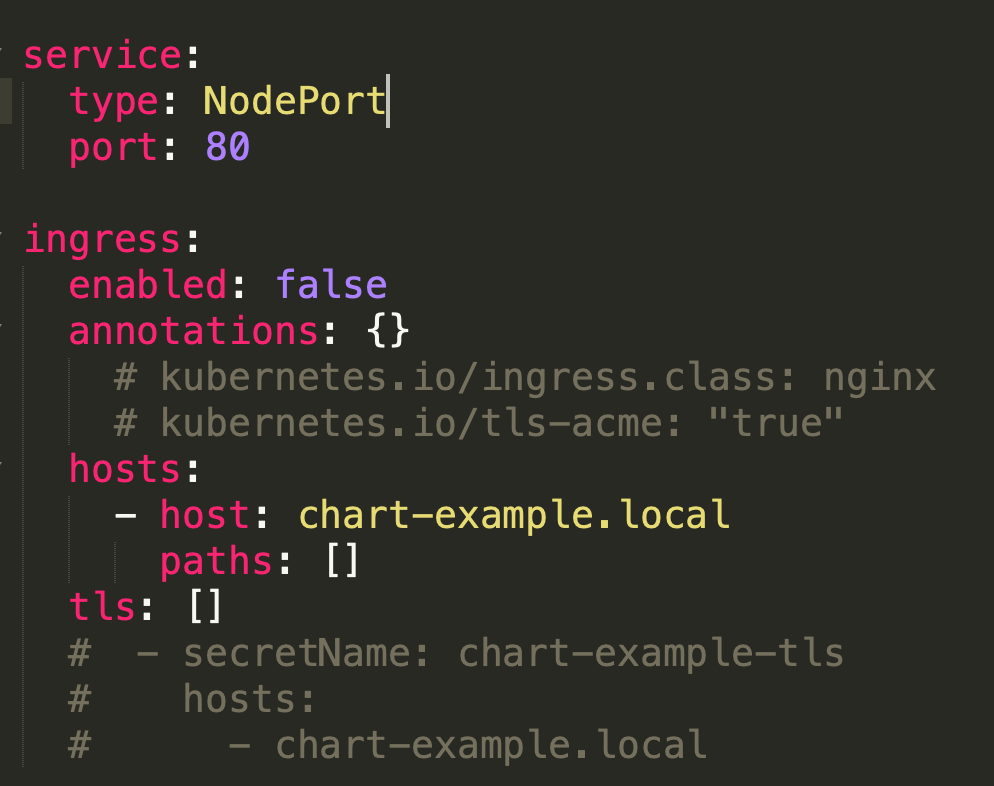
Also, change the NodePort so that we can browse the application
Install the chart
kubectl create ns gb( Create the namespace first)
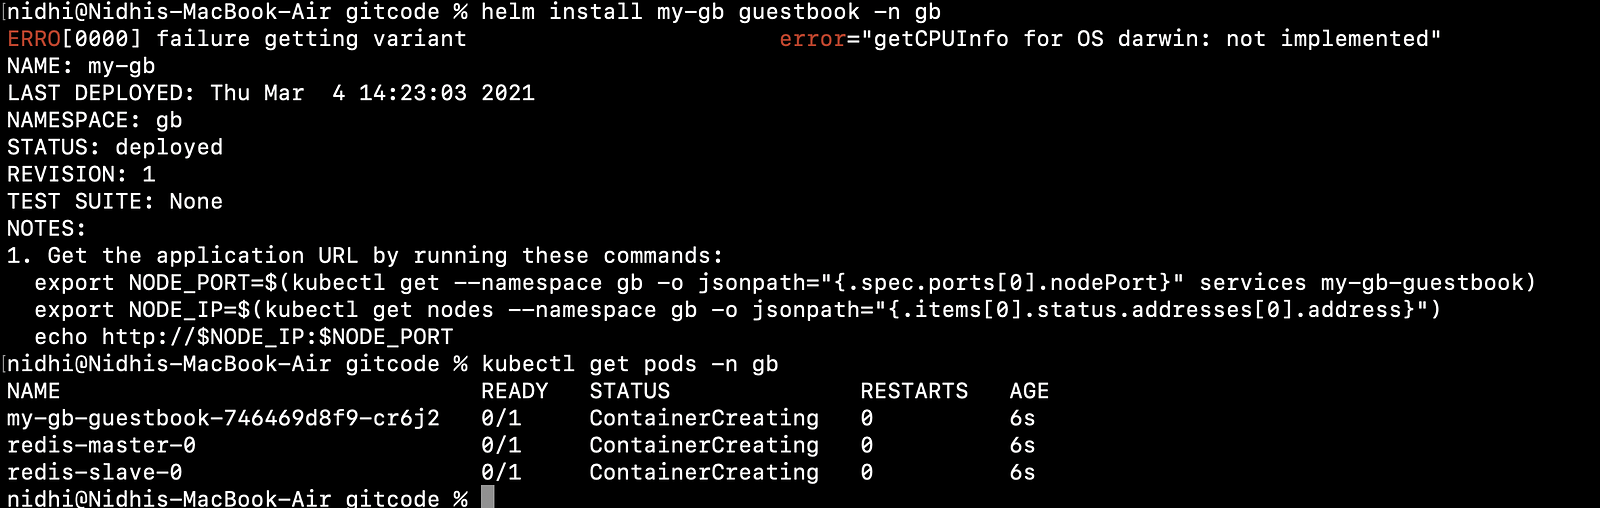
helm install my-gb guestbook -n gb
kubectl get pods -n gb
It has created PVC also as shown below

export NODE_PORT=$(kubectl get --namespace helm1 -o jsonpath="{.spec.ports[0].nodePort}" services frontend-demo-helm)
export NODE_IP=$(kubectl get nodes --namespace helm1 -o jsonpath="{.items[0].status.addresses[0].address}")
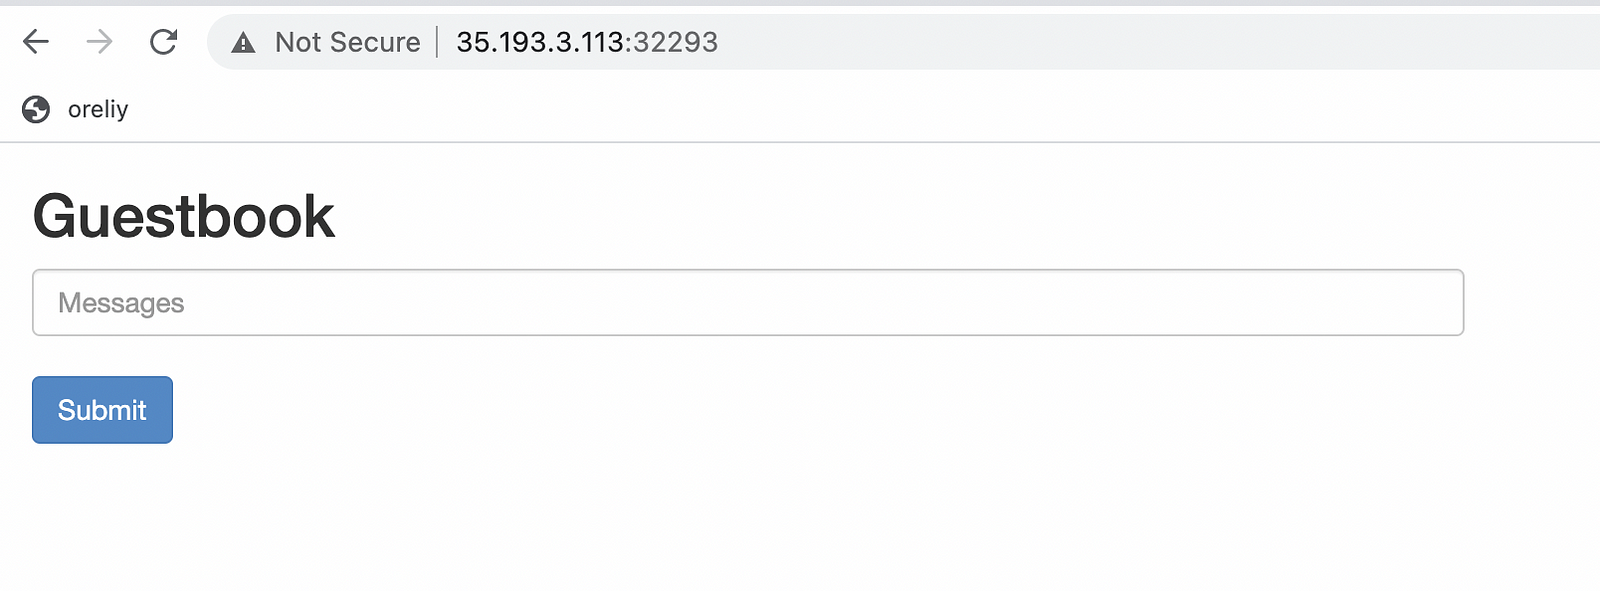
echo http://$NODE_IP:$NODE_PORT
Uninstall the chart
helm uninstall my-gb -n gb
kubectl delete pvc -l app=redis -n gb
