In this blog we will go through the steps for Installation of Ruby on Rails on AWS EC2 Ubuntu 16.04.
Ruby installation on Ubuntu:
Following are the steps to be employed to download and install latest version of Ruby onto your AWS EC2 Ubuntu instance:
Step 1. rvm installation
- rvm (Ruby Version Manager): rvm is needed to be install, in order to download, compile and install new ruby version.
- However, before installing rvm, we require to install “curl” program.
ubuntu@ip-xxx-xx-xx-xxx:~$ sudo apt-get update
ubuntu@ip-xxx-xx-xx-xxx:~$ sudo apt-get install curl
ubuntu@ip-xxx-xx-xx-xxx:~$ \curl -L https://get.rvm.io | bash -s stable --ruby
*Note: You may require to close and reopen your terminal for rvm command to work.
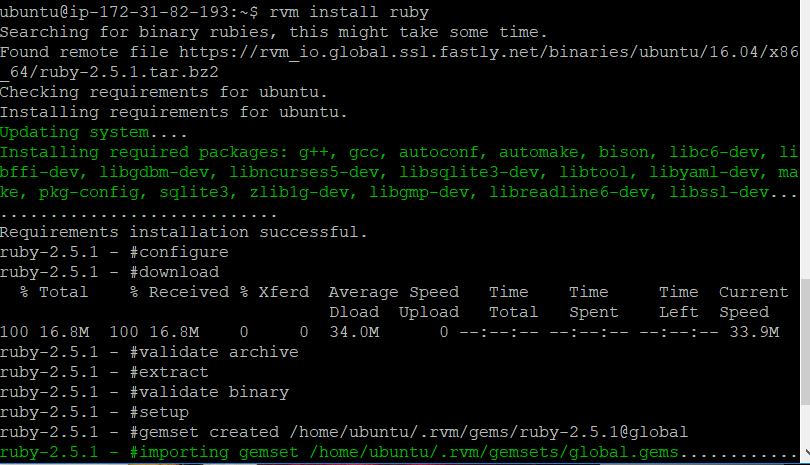
Step 2. Install Ruby
ubuntu@ip-xxx-xx-xx-xxx:~$ rvm get stable --autolibs=enable
ubuntu@ip-xxx-xx-xx-xxx:~$ rvm install ruby
Step 3. Check the version of ruby and the default database ‘sqlite3’ installed:
ubuntu@ip-xxx-xx-xx-xxx:~$ ruby -v
ubuntu@ip-xxx-xx-xx-xxx:~$ sqlite3 --version


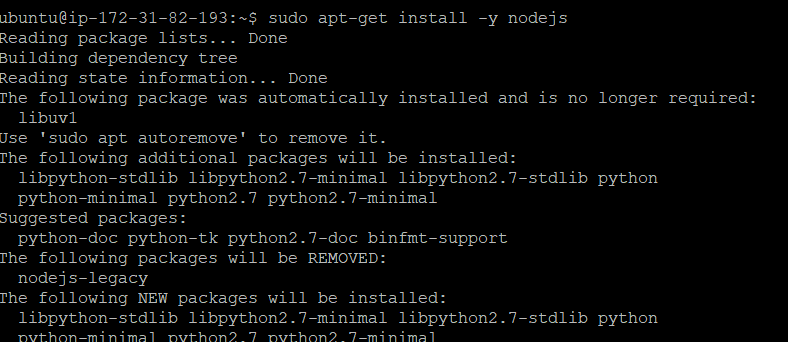
Step 4. Node.js installation
Few libraries on which Rails depends upo, require JavaScript runtime. For Ubuntu Linux, Node.js server-side JavaScript environment is best to handle those libraries.
ubuntu@ip-xxx-xx-xx-xxx:~$ curl -sL https://deb.nodesource.com/setup_8.x | sudo -E bash -
ubuntu@ip-xxx-xx-xx-xxx:~$ sudo apt-get install -y nodejs
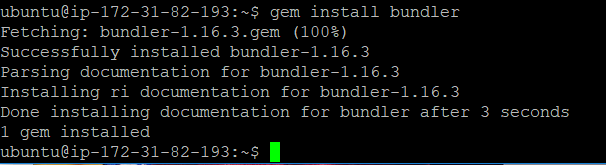
Step 5. Bundler installation

The Bundler gem is an essential tool for managing gems when developing and running Rails applications. RVM used to install Bundler automatically.
Ruby on Rails installation on AWC EC2 Ubuntu 16.04:
ubuntu@ip-xxx-xx-xx-xxx:~$ gem install rails
check the version installed
ubuntu@ip-xxx-xx-xx-xxx:~$ rails -v

Congrats!! You have successfully installed Ruby on Rails on Ubuntu.
Furthermore, if you would like to learn the installation on other platforms, visit the link https://devops4solutions.com/category/language/
Also, in order to learn to deploy rails app on Heroku, click here.