How to Integrate Selenium with Jenkins
This blog will help you to Integrate Selenium with Jenkins. This will help you to run the selenium scripts using Jenkins automatically or as per your need.
Requirement
- Download the sample code from github
- Maven Installation
- Setup with eclipse
Download the sample code from github
- Clone the repository from here
- cd to the location
- run the mvn test on your machine.
Jenkins Configuration
- Create a freestyle job, in scm — use the link mentioned above -> in build section -> add clean test -> save ->trigger
Setup with eclipse
See the below steps if you want to know how to configure a sample project in eclipse to run selenium scripts.
- Download eclipse from here
- Create a folder on your machine C://Workspace
- Launch eclipse.exe ( Note java8 is required)
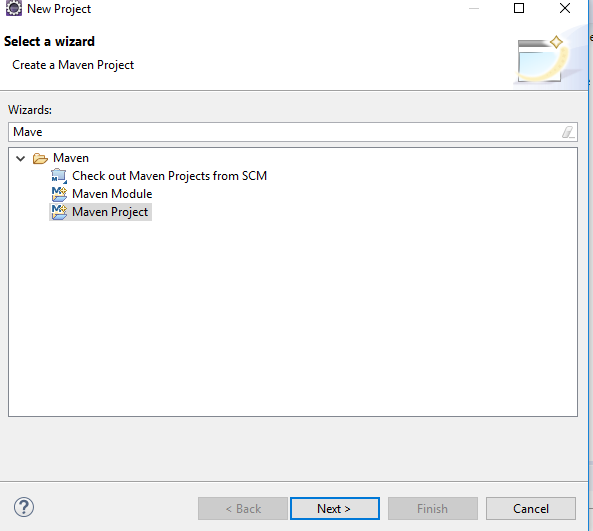
- Create a new Maven Project
6. Click Next and select create a sample project

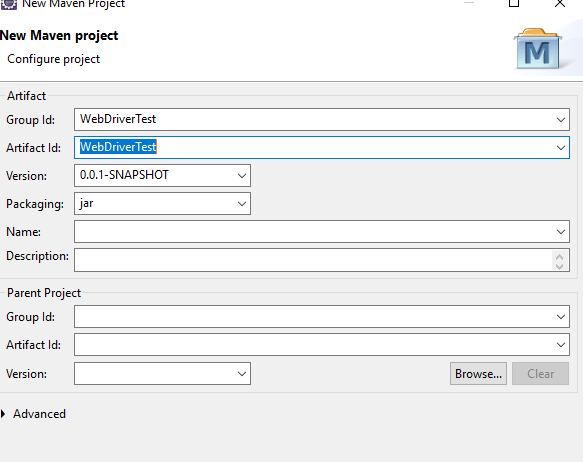
7. Project created successfully.
8. Add TestNG Plugin in Eclipse.
Install from update site
- Select Help / Install New Software…
- Enter the update site URL in “Work with:” field:
- Update site for release: http://beust.com/eclipse.
- Or, Update site for beta: http://beust.org/eclipse-beta , use it if you want to experiment with the new features or verify the bug fixes, and please report back if you encounter any issues.
- Help → Install new software → Here uncheck “Contact all update sites during install to find required software”
- Make sure the check box next to URL is checked and click Next.
- Eclipse will then guide you through the process.
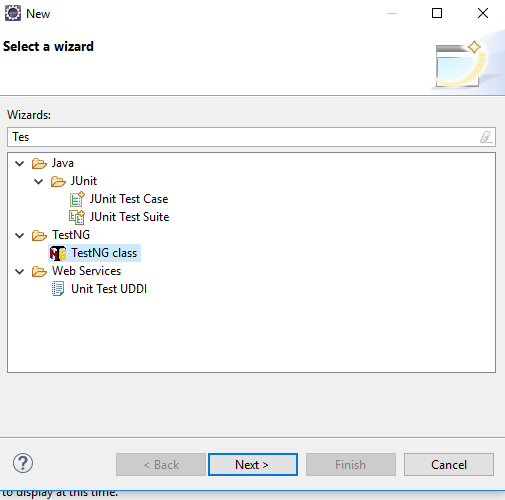
10. Create a new TestNg Class
NewTest.java
package example;
import org.openqa.selenium.By;
import org.openqa.selenium.WebDriver;
import org.openqa.selenium.firefox.FirefoxDriver;
import org.testng.Assert;
import org.testng.annotations.Test;
import org.testng.annotations.BeforeTest;
import org.testng.annotations.AfterTest;
public class NewTest {
private WebDriver driver;
@Test
public void testEasy() {
driver.get(“http://demo.guru99.com/test/guru99home/”);
String title = driver.getTitle();
Assert.assertTrue(title.contains(“Demo Guru99 Page”));
}
@BeforeTest
public void beforeTest() {
driver = new FirefoxDriver();
}
@AfterTest
public void afterTest() {
driver.quit();
}
}
Right-click on the WebdriverTest and select TestNG | Convert to TestNG.
Eclipse will create testng.xml which says that you need to run only one test with the name NewTestas shown in the following screenshot:
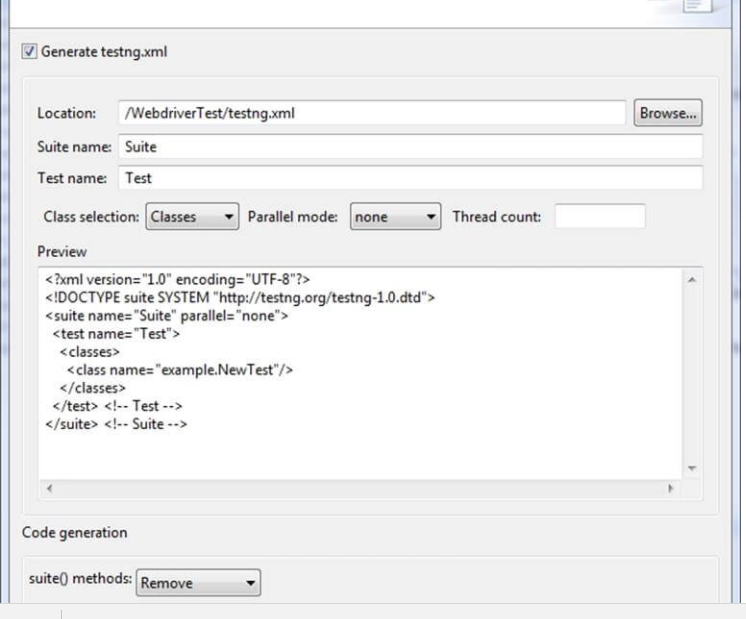
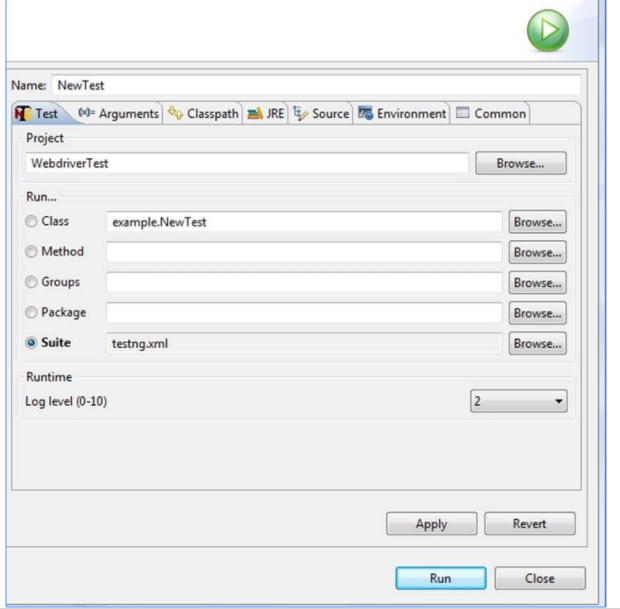
Now you need to run test through this testng.xml.
So, go to the Run Configurations and create a new launch TestNG, select the project and field Suite as testng.xml and click Run
Build finished successfully
Now run as maven test.