Heroku is appreciable when you just want to focus on attributes of your application and not on the infrastructure. Moreover, it provides continuous deployment provision for those who does not want to invest in a DevOps team. However, a detailed and tightly bounded CI/CD workflow is always an ideal situation in agile development. Considering this in mind, this blog will help you to setup CI/CD using Jenkins & Heroku.
Aim: Simply fetching source code from github repository and deploying the application to Heroku.
*Note: This CI/CD setup is language agnostic, as the whole and sole provider of our source code is git. Thus, this process can be used for any language (like, Ruby, Node, Java etc). For the demonstration purpose, we are using Ruby on Rails project committed into github.
Pre-requisite: Before one can integrate Jenkins & Heroku, following must be known-
- Heroku account creation.
- Creating Ruby on rails project.
- Heroku application creation.
- Jenkins Git plugin
Following steps are to be administered, to achieve the objective:
Step 1. Install Git plugin to activate the ‘git publisher’ option in your configuration window.
Go to Jenkins dashboard –> Manage Jenkins –> Manage plugins –> Available –> Git
Step 2. As it is a Rails Application, install following plugins too, with the same process as decribed above:
- rvm
- rake
Step 3. Set Heroku credentials in Jenkins
In order to authorize Jenkins and to build a trust between Heroku and Jenkins, some sort of credentials are required to be added.
You can use SSH as most of the other articles have shown. However, following is an easy way to do the same:
a). Go to Heroku Dashboard
b). On leftmost corner click on to the ninja image
c). Click on ‘Account settings’

d). You will see the ‘API key’ section. Copy it.

e). Go to Jenkins dashboard. Among the list of options in the right-hand side, choose ‘Credentials’ –> Click on Global –> Add credential –> Choose ‘Username with Password’ type from the drop-down list.
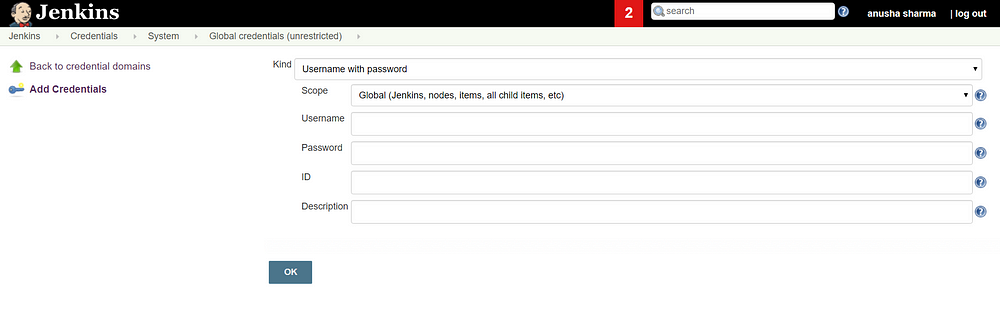
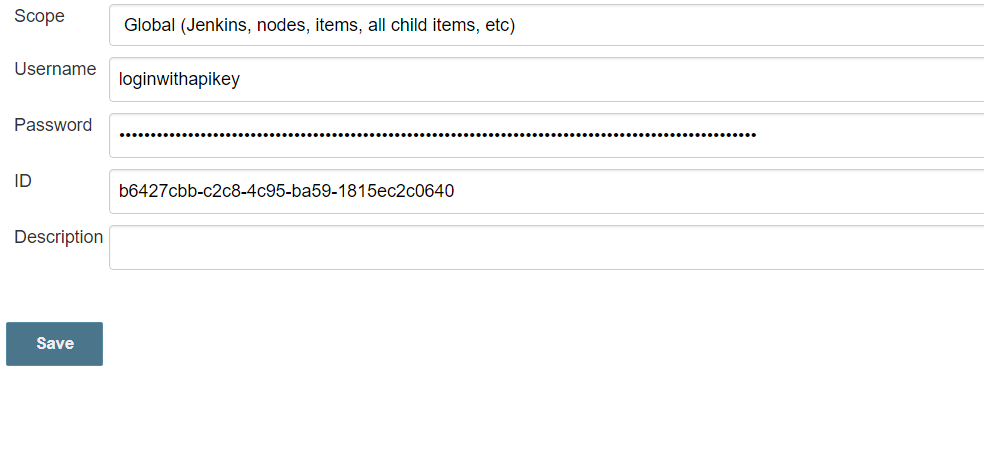
f). Provide any Username (like ‘loginwithapikey’ in this case).
Paste the API key as password
Step 4. Create a freestyle project in jenkins. In the configuration window of the project:
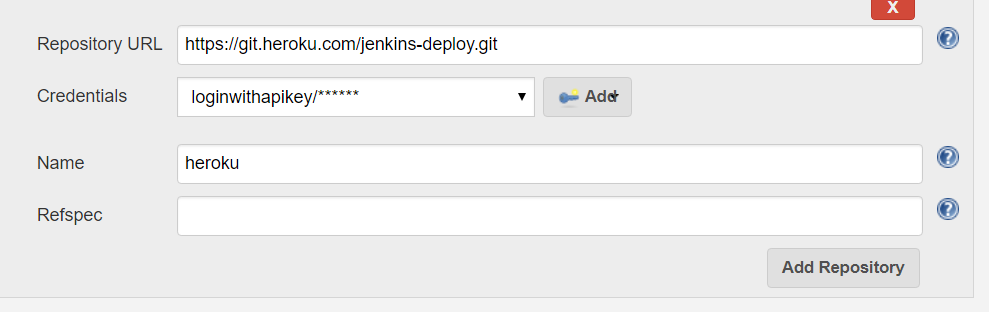
a). SCM section: Choose two git repositories. One for fetching code from your github account and second for Heroku git repository.
Give the created credentials with Heroku git Repository URL.

*Note: Click on Advanced section, beneath heroku git repository URL. Give any name to this (like ‘heroku’ in this case).
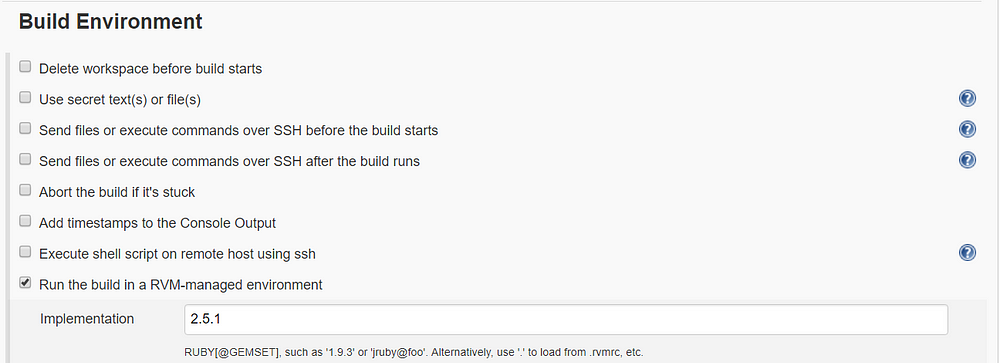
b). Build Enviornment:
Choose ‘ Run the buuild in a RVM managed enviornment’ and either type the verion (‘2.5.1’ in this case) or can also type a dot (.) in the implementation.
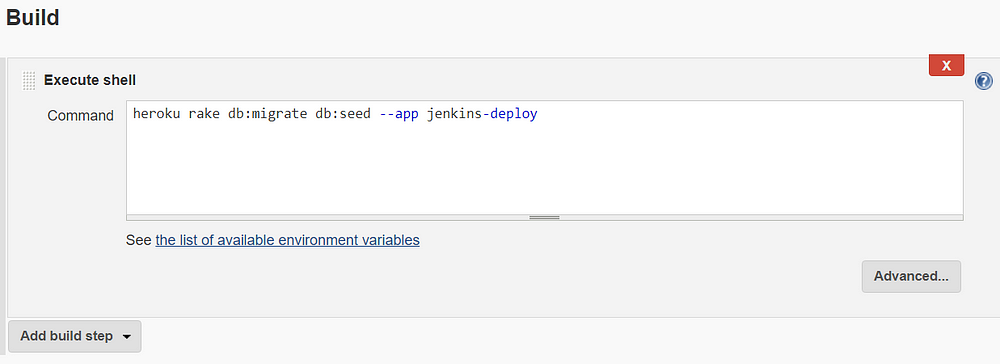
c). Build:
Add a build step –> ‘Execute shell’ and write the following:
heroku rake db:migrate db:seed --app <name of application>
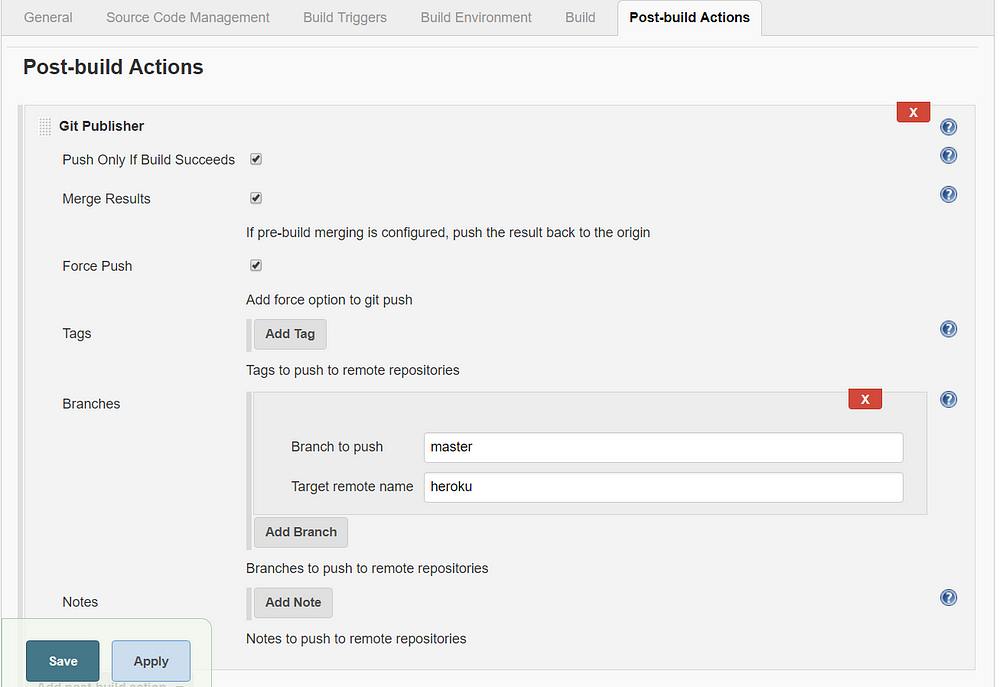
d). Add a ‘Post-build Action’
- Choose Git Publisher.
- select the checkboxes (appropriately as per your need)
- Select Branches and give
Branch to push : master
Target remote name: <name specified above with Heroku git repository URL>
Step 5. Save and Build Now.