In this blog, we will explore how we can access the kubernetes applications externally using Services.
Checkout my YouTube video on this blog.
Prerequisite:
- Functional Kubernetes Cluster configured
- Kubernetes’ command-line tool, kubectl, which is the command-line interface for running commands against Kubernetes clusters.
- Clone this git repo for all the yaml files which we will be using in this blog
Agenda:
- Create a Kubernetes Cluster
- Firewall Rules Configured
- Create a POD
- ClusterIp Service
- NodePort Service
- LoadBalancer Service
Create a Kubernetes cluster
To get more details about how to create, please follow this blog.
VPC Create
gcloud compute networks create vpc-k8s
Firewall rule with tag cluster
gcloud compute firewall-rules create allow-ext1 --allow tcp:22,tcp:6443,icmp --network vpc-k8s --target-tags=cluster --source-ranges 0.0.0.0/0
Cluster using the tag cluster
gcloud container clusters create my-k8s-cluster --num-nodes 3 --network vpc-k8s --zone us-central1-a --tags cluster --scopes=storage-rw,compute-ro
Cluster is ready and you can run some basic commands like kubectl get nodes
Create a Pod
This yaml file will create a pod using this docker image
kind: Pod
apiVersion: v1
metadata:
  name: sampleweb
  labels:
    tier: frontend
spec:
  containers:
  - name: sampleweb
    image: nikhilnidhi/samplewebapp
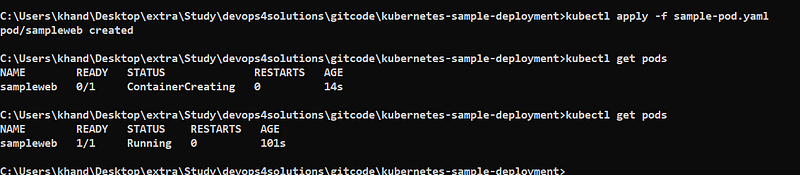
Apply the changes and check the pods details
kubectl apply -f sample-pod.yaml
kubectl get pods
kubectl get pod -o wide

- Each Kubernetes Pod gets its own IP address.
- used for pod-to-pod communication
- not for routing external traffic to pods
Hence, you will not be able to access this IP outside the cluster.
Access the url from inside the pod using the pod-ip and the port on which your application is listening using below command:
kubectl exec -it sampleweb -- sh
curl 10.32.2.7:8080/LoginWebApp-1/
samplweb – podname
10.32.2.7 – internal IP of the pod
8080 – port on which my application is running
This is how you can access your application from inside the pod.
Kubernetes Services
Kubernetes provides a concept called a Service to abstract the network access to your application’s pods.
A Service acts as a network proxy to accept network traffic from external users and then distributes it to internal pods.
How we will be create a relation between pods and services ? How a service will know about the Pods?
Kubernetes uses labels, which are defined in the pod definitions, and label selectors, which are defined in the Service definition, to describe this relationship.
Types of Services
- ClusterIP
- NodePort
- LoadBalancer
ClusterIP
cluster-ip is the default service if you don’t provide the type in yaml then this service will automatically get created.
It is good for debugging purposes
Let’s create a Service using this file
kind: Service
apiVersion: v1
metadata:
  name: sampleweb
spec:
  selector:
    tier: frontend
  type: ClusterIP
  ports:
    - port: 82
      targetPort: 8080
Run the command
kubectl apply -f sample-service-clusterIP.yaml

kubectl get pods --show-label

Check the Service — You should be able to see the service sampleweb
kubectl get svc

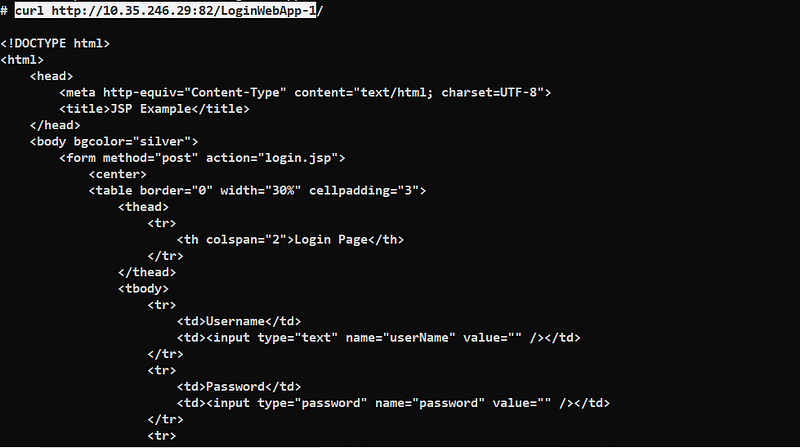
Now we can access using the cluster IP of your service
kubectl exec -it sampleweb -- sh
curl http://10.35.246.29:82/LoginWebApp-1
NodePort
Now we will create a NodePort Service to enable external users to access the internal pods without entering the cluster.
If the nodes in your cluster have external IP addresses, find the external IP address of one of your nodes using below command:
kubectl get nodes --output wide
Let’s create a NodePort Service using this file
You can specify the nodePort also in the yaml file or you can let cluster automatically generated a port for you.
kind: Service
apiVersion: v1
metadata:
  name: sampleweb
spec:
  selector:
    tier: frontend
  type: NodePort
  ports:
    - port: 82
      targetPort: 8080
Check the service
kubectl get service

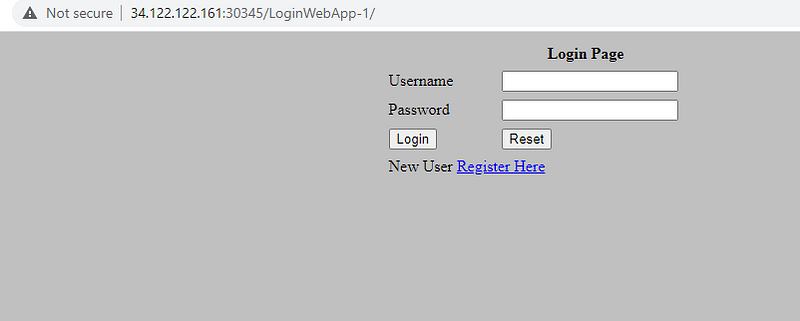
Port 30345is an auto-generated port that’s exposed on every node, which is done intentionally so that external users can access it.
For you to access it on the browser you need to open this port using below command
gcloud compute firewall-rules update allow-ext1 --allow tcp:30345
After this you can use the node-externalip and browse it using below url
http://node-externalip:30345/LoginWebApp-1
Under the hood, there are several layers of traffic transitions that make this happen:
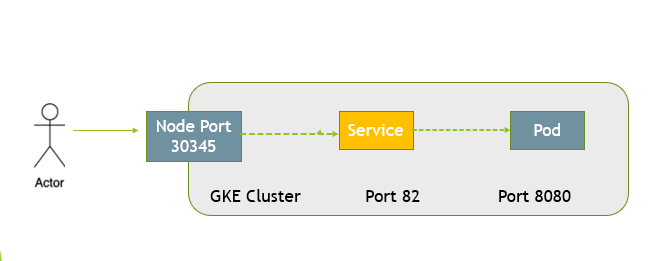
- The first layer is from the external user to the machine IP at the auto-generated random port (30345).
- The second layer is from the random port (30345) to the Service IP (10.X.X.X) at port 82.
- The third layer is from the Service IP (10.X.X.X) ultimately to the pod IP at port 8080.
LoadBalancer
Create a LoadBalancer service
apiVersion: apps/v1
kind: Deployment
metadata:
  name: my-deployment-50001
spec:
  selector:
    matchLabels:
      app: products
      department: sales
  replicas: 3
  template:
    metadata:
      labels:
        app: products
        department: sales
    spec:
      containers:
      - name: hello
        image: "gcr.io/google-samples/hello-app:2.0"
        env:
        - name: "PORT"
          value: "50001"
Run the below command
kubectl apply -f sample-deployment.yamlCreate a service
apiVersion: v1
kind: Service
metadata:
  name: my-lb-service
spec:
  type: LoadBalancer
  selector:
    app: products
    department: sales
  ports:
  - protocol: TCP
    port: 60000
    targetPort: 50001
Run the below command
kubectl apply -f 
kubectl get service my-lb-service --output yaml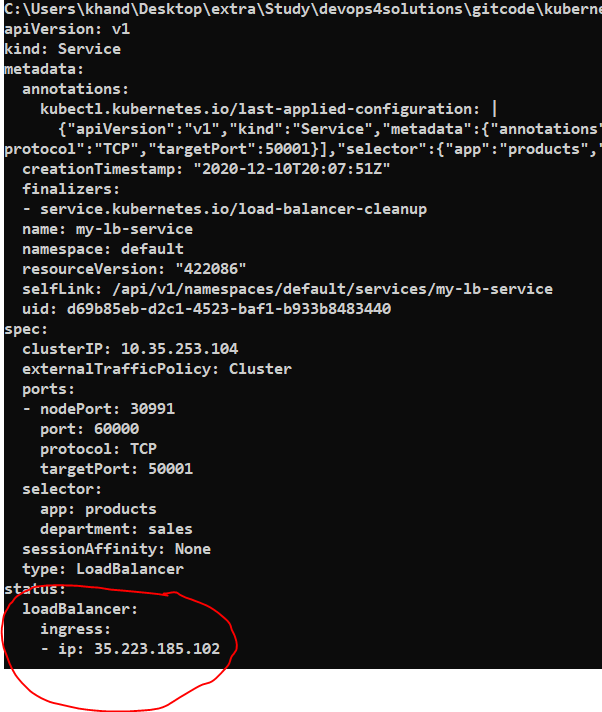
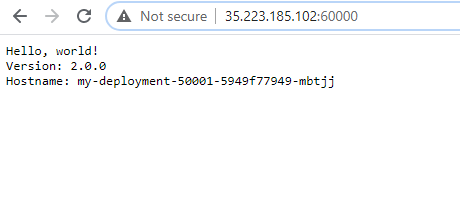
Wait a few minutes for GKE to configure the load balancer.
In your browser’s address bar, enter the following: