Amazon EC2
It is an AWS primary web service that provides resizable compute capacity in the cloud. It can be used to launch instances (e.g. Linux, Ubuntu, Windows, Databases) on cloud. This blog will guide with easy steps for Launching Linux Instance on EC2 (Elastic Compute).
What is Elastic Compute?
Compute refers to the amount of computational power required to fulfill workload. Amount of compute that you require may change unexpectedly over time. Amazon EC2 provides the compute capability through launching virtual servers called instances.
Therefore, one has to pay per hour while instance is running and once the instance is stopped, billing amount also halts. It is similar to book a ride on rickshaw, the meter starts once your journey embarks. However, once you have reached your destination, the meter stops calculating your bill. As a result you have to pay for only how much you use !!
Let’s start this story by launching a linux instance on an AWS account.
Launching Linux instance on EC2
Following are the steps used:
Step 1.
Go to AWS site and create a free tier account (subscription is free for a year, voila !!)
Step 2.
Sign in as a root user → Click “My Account” → Choose “Management Console”
Choose the nearest region to launch your instance. For instance, choose N.Virginia if you are in India.
Step 3.
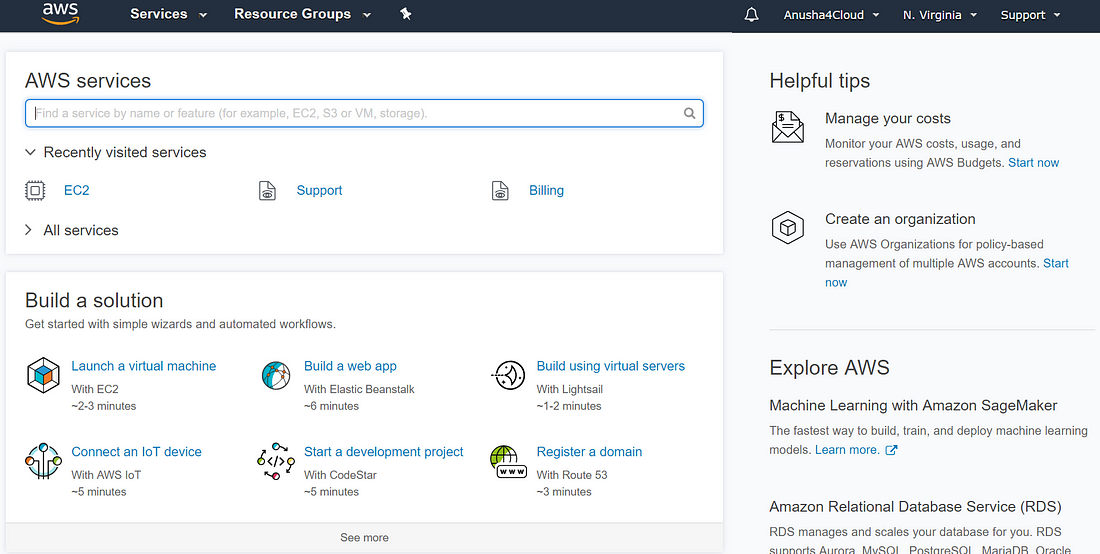
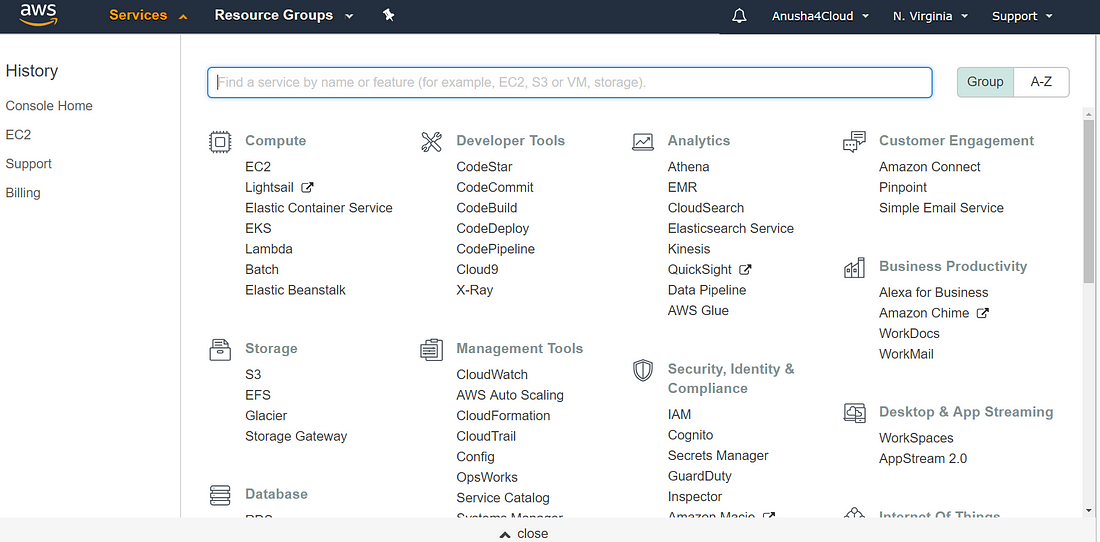
Click on Services and choose EC2 in compute from the plethora of services provided by AWS.
You would be directed towards EC2 dashboard. Hit Launch Instance button.

Step 4.
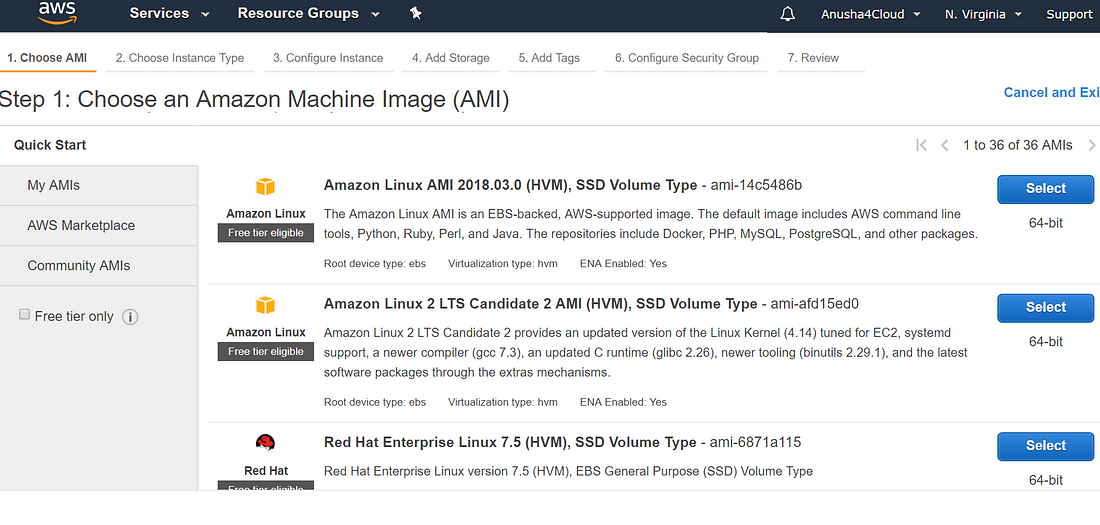
Choose AMI (Amazon Machine Images). Select free tier Amazon Linux AMI (Reason: as it comes with whole bunch of pre-building tools including python, ruby, java and most importantly AWS commad line tools)
*The AMI defines the initial software that will be on an instance when it is launched. It defines the every aspect of the software state at instance launch, including: OS & its configuration, initial state of patches, Application or system software. All AMIs are based on x86 OSs, either Linux or Windows.
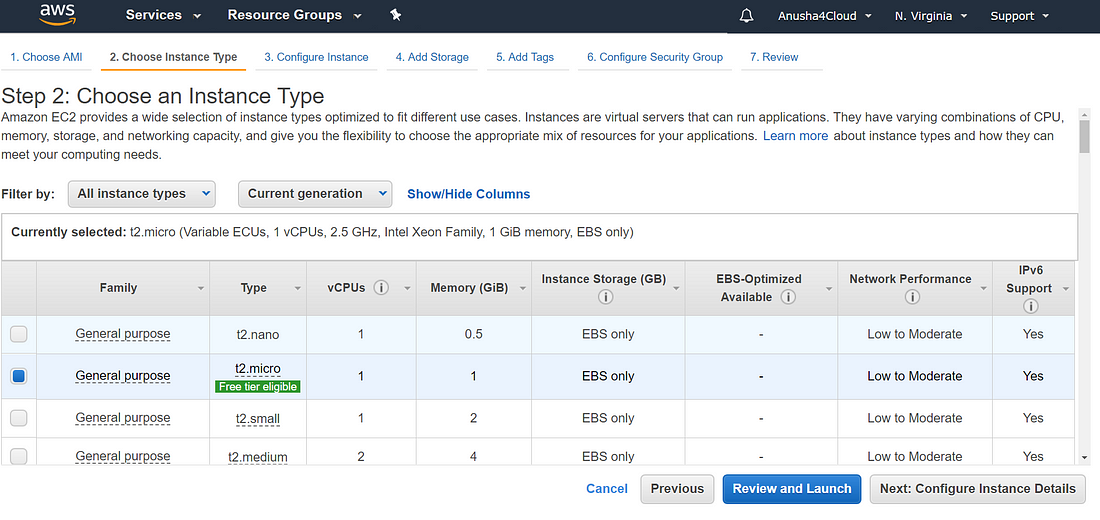
Step 5.
Choose an instance type (by default you are eligible for t2 micro type) Click one Next.
*Instance type in EC2 defines the virtual hardware dedicated to/supported on an Amazon EC2 instance. There are multitude of instance types available, varying in dimensions, including : Virtual CPUs, Memory, Storage (size an type) and Network Performance.
Step 6.
Leave the instance details as default and click Next.
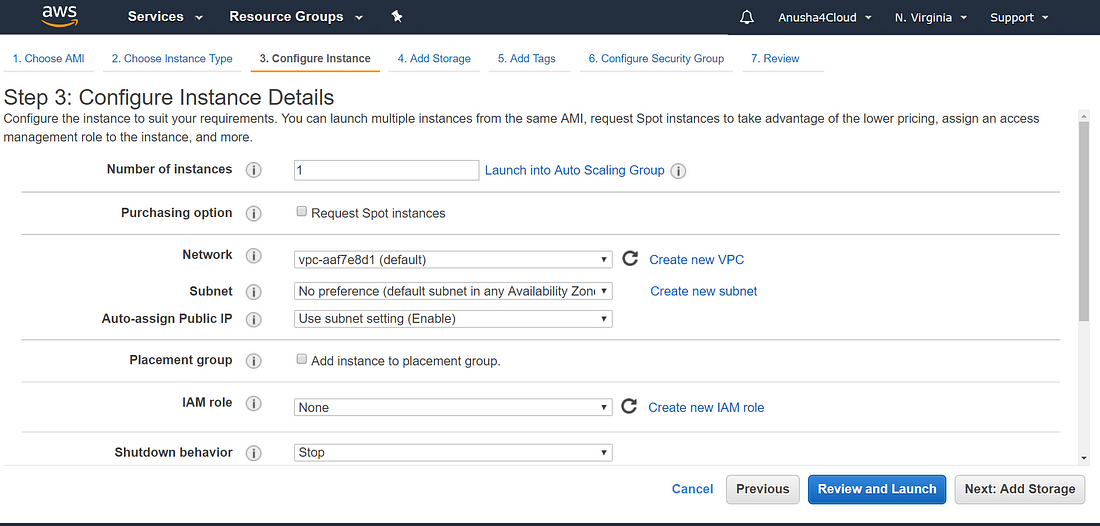
*Note: As a free tier account holder, do not create more than one instance, as then it will be chargeable.
Step 7.
Keep the storage details as default and click next.
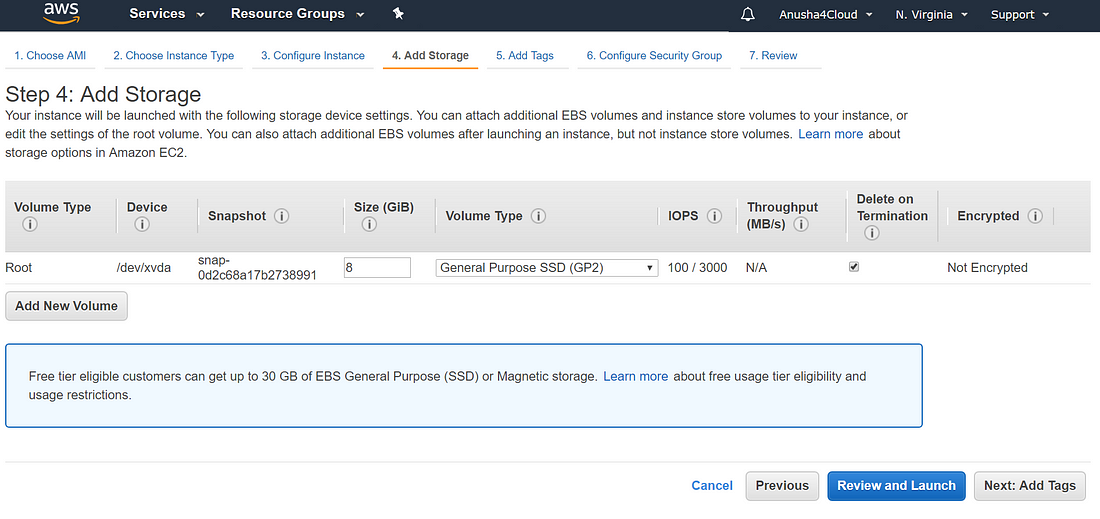
*Note: Volume here represents virtual hardware from where you can boot your operating system (Linux in this case).
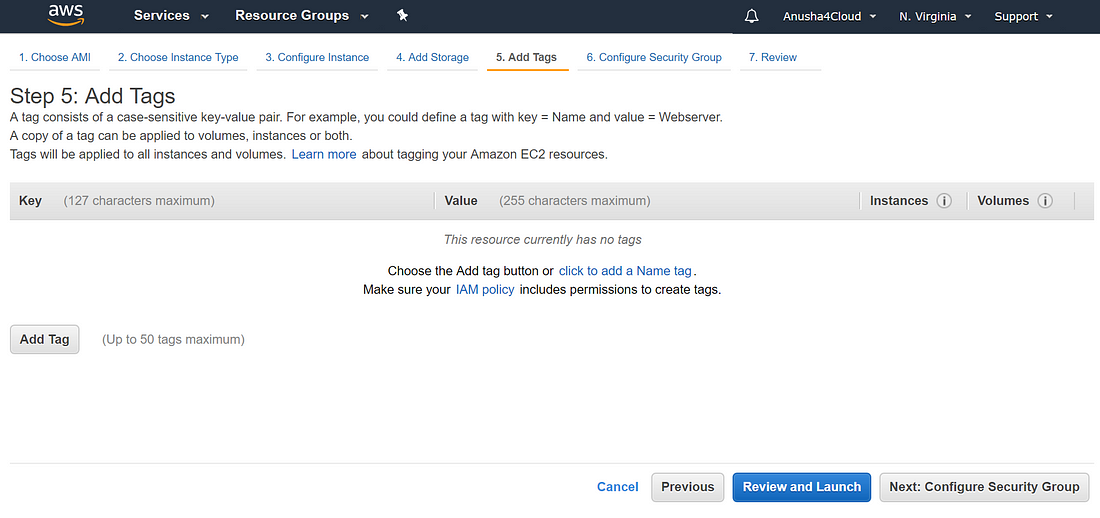
Step 8. Managing Instances:
Tags can be added to Amazon EC2 instances and also to AWS Cloud services.
Tags are very helpful to manage instances, as when the number of instances in the account starts increasing, it becomes difficult to keep track of them. Also it helps to manage the costs. Currently one can add upto 50 tags.
Tags are case-sensitive key/value pairs that can be associated with instance or other services.

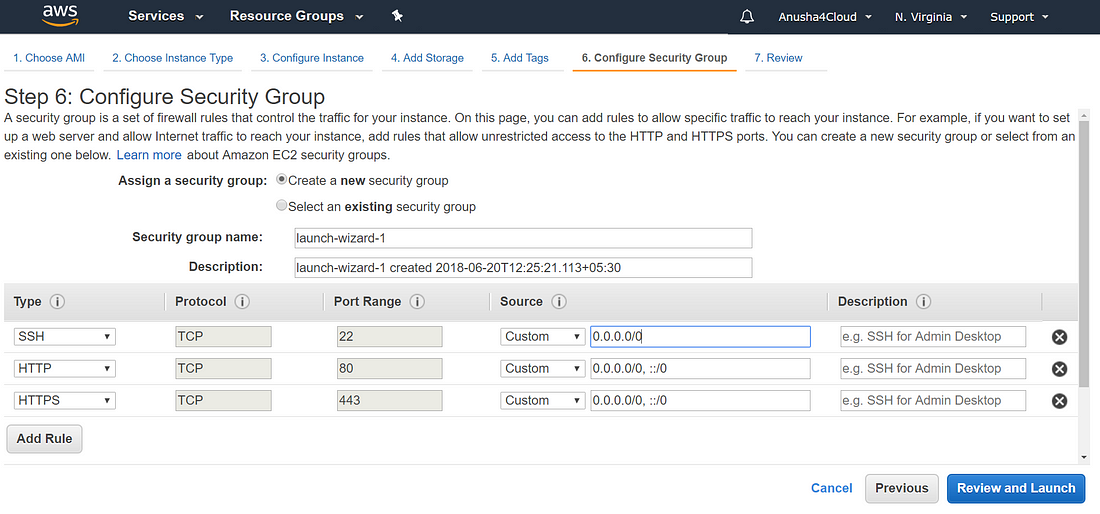
Step 9. Configure Security Groups:
To set firewall rules to control the kind of traffic to reach the instance.
Either select from the available security groups or can create a new security group.

Add HTTP and HTTPS security groups id you want to view websites / set up a web server.
Step 10.
After clicking Review and Launch, it will ask to create a key pair, give a name to it, e.g. MyPuttyKey and download the .pem file.
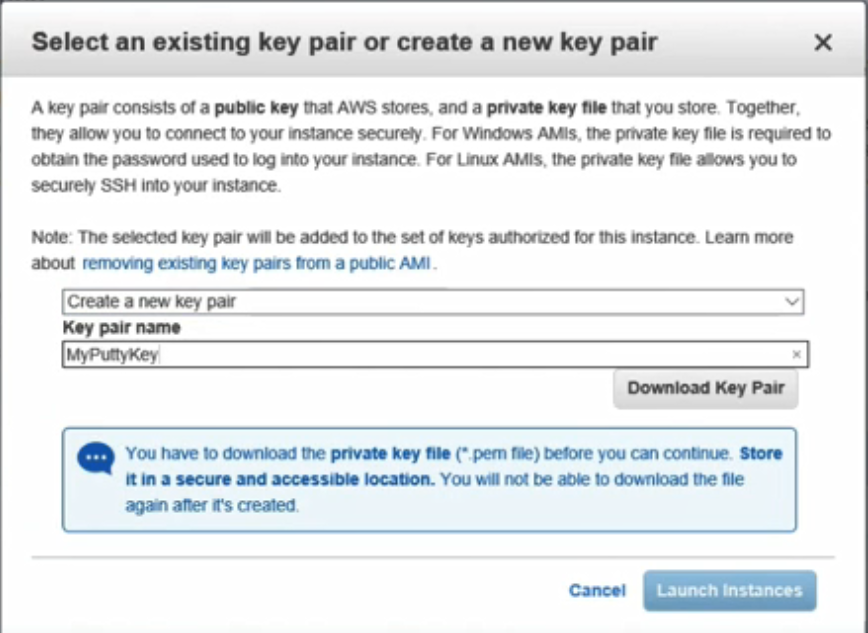
Click on Launch instances and after a while your linux instance would be launched with the above specifications.
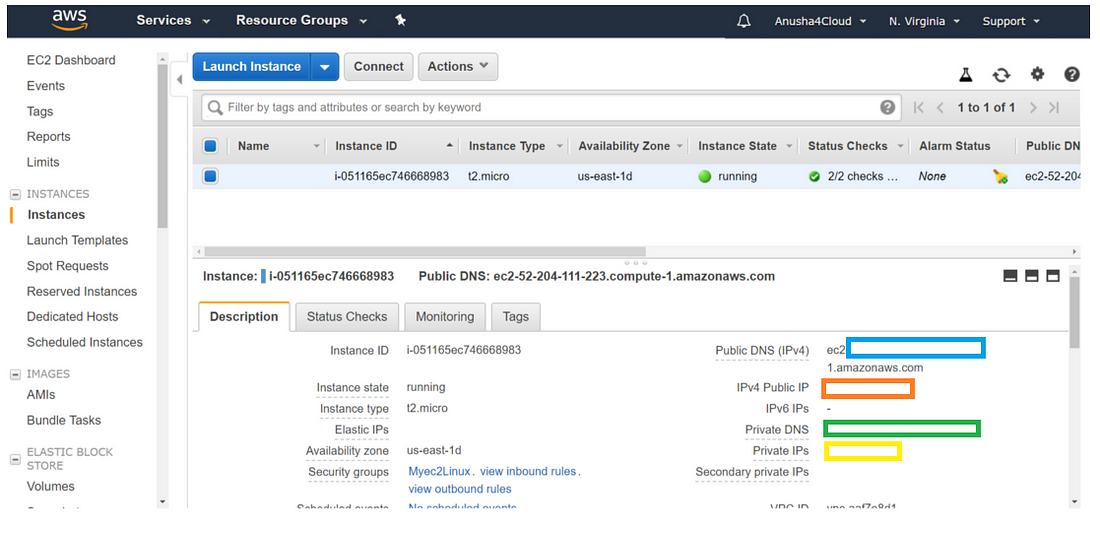
*Several ways to address a launched Instance:
- Public Domain Name System (DNS) — It is generated automatically and cannot be specified by the customer. It persists only while the instance is running and cannot be transferred to another instance.
- Public IP — This IP address is assigned from the addresses reserved by AWS and cannot be specified. It is unique on the internet and persists only while the instanc is running, and cannot be transferred to another instance.
- Elastic IP — It is a unique address on Internet that is reserved independently by customers and associated with an Amazon EC2. In contrast to public IP, this IP address persists until the customer releases it. Plus it is not tied to the lifetime or state of an individual instance. In case of an instance failure, the Elastic IP address can be transferred to a replacement instance.
How to use Putty (for Windows users only) –
As written in wiki, Putty is a free and open-source terminal emulator, serial console and network file transfer application.
Need Putty : In order to SSH in your EC2 instance
Need PuttyKeyGen : In order to convert your pem file which is generated when EC2 instance is created. However putty doesn’t read .pem (private key file), therefore PuttyKeyGen converts .pem file to .ppk file.
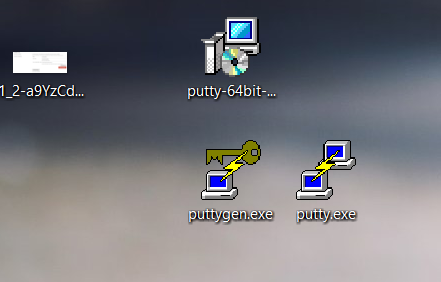
Step 1. Go to the web browser and type putty and select https://www.chiark.greenend.org.uk/~sgtatham/putty/
Download and save : (a) putty.exe (b) puttygen.exe
*Respective items could be saved onto the desktop.
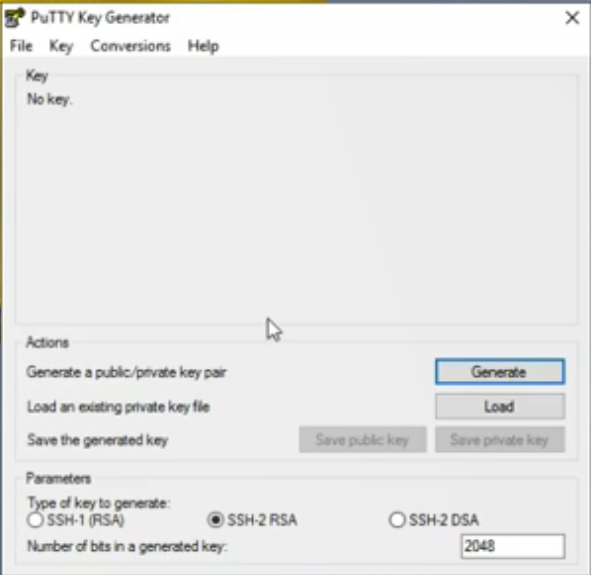
Step 2. Open up puttygen.exe → Click on generate
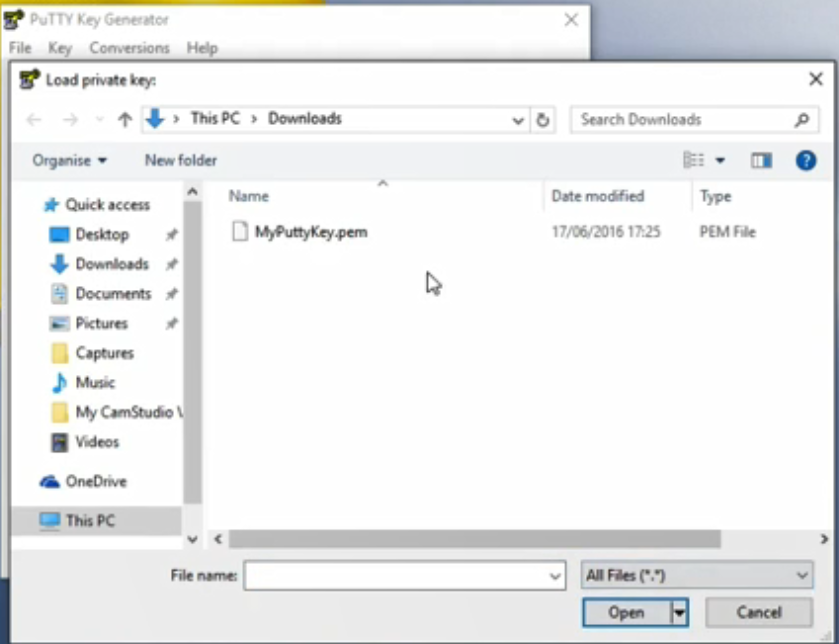
Step 3. Choose all files → .pem file → open
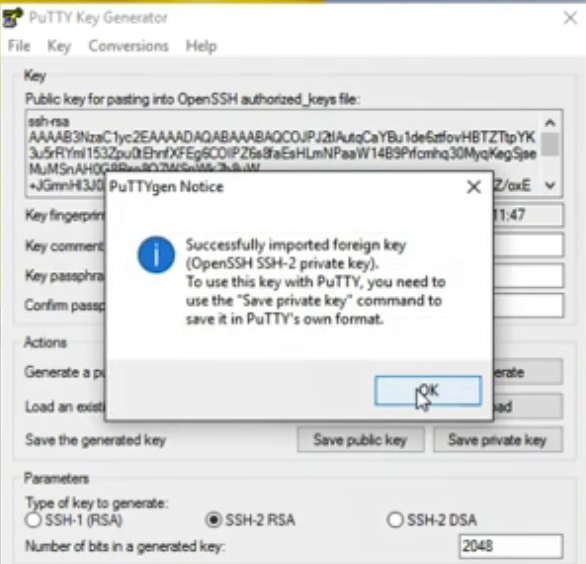
Step 4. Click Save private key and save the file with .ppk extension
Step 5. Open up putty
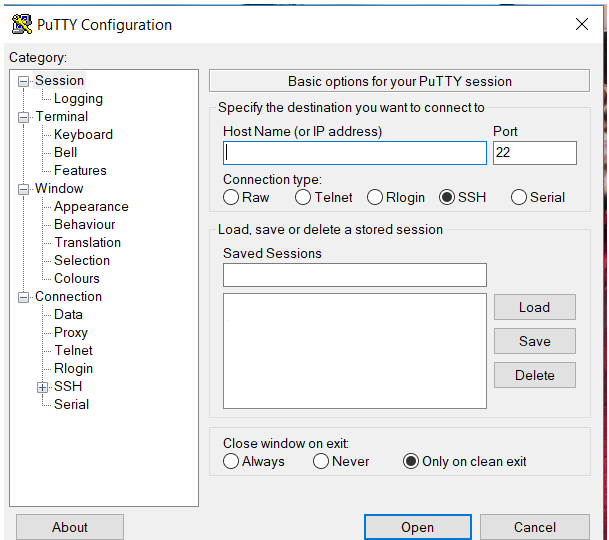
Go to EC2 instance that has been launched and copy public IP address and specify the host name in putty :
ec2-user@public-IP-address
e.g. [email protected]
Also copy the same in the saved session in order to set the default session.
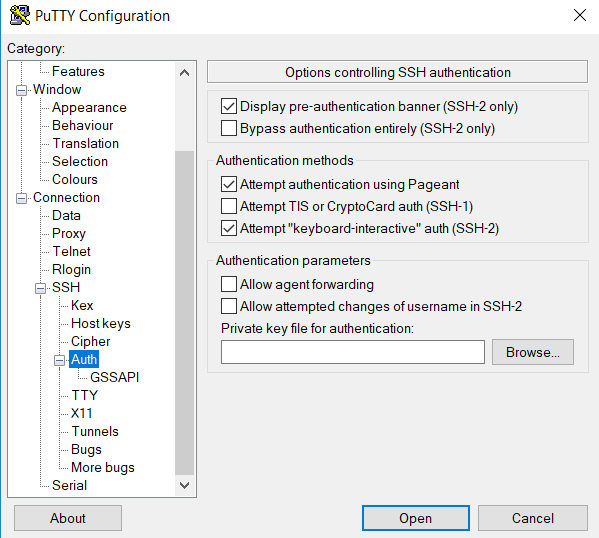
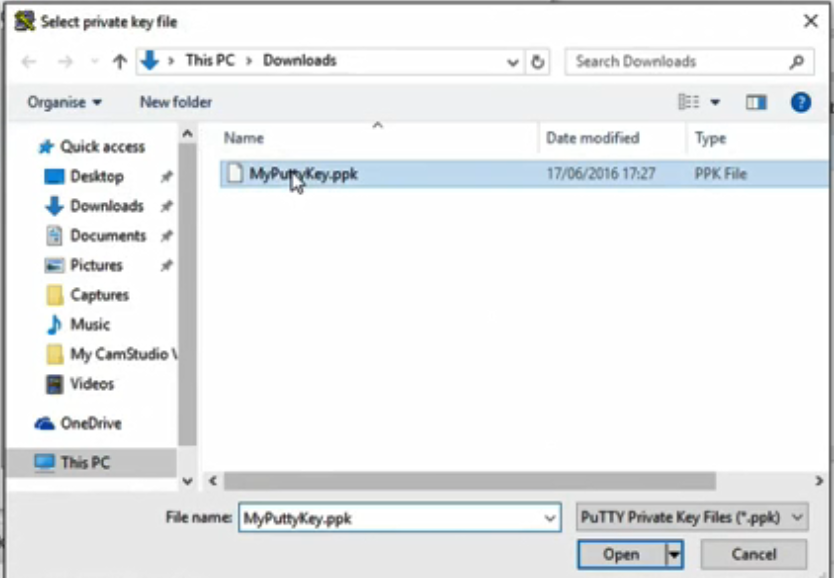
Step 6. Got o SSH → Auth → Browse → Select the .ppk file
Step 7. Go to session again → click on save → click load → click open
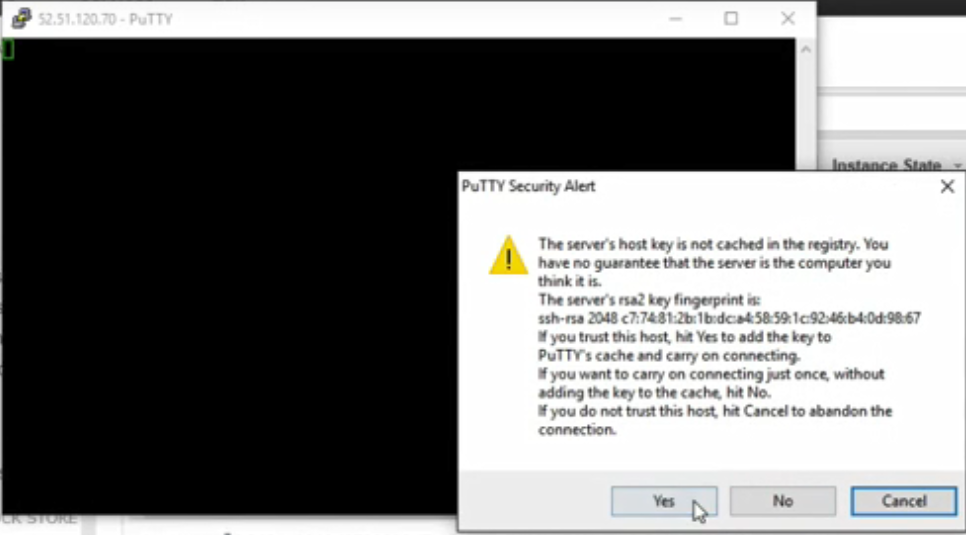
And there we go !! EC2 instance have got connected.
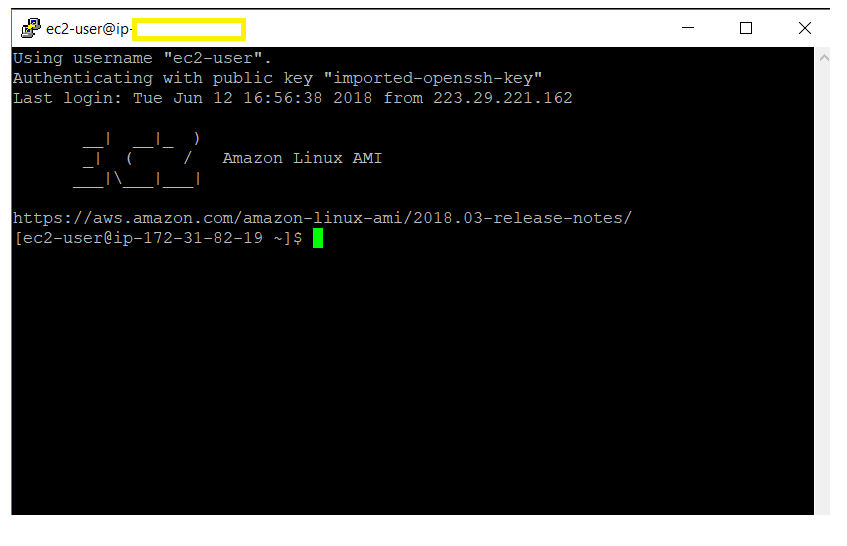
Conclusion: With this blog, we were successful in launching Linux instance on EC2. Also, as a window users, we have learnt to use putty in order to SSH in our EC2 instance.