This blog will deal with the Installation of Tomcat on AWS ec2 linux & integration with Jenkins will furthermore be demonstrated by deploying a simple Java WAR package on to the Tomcat server.
Prerequisite:
Click on the following links to get into the details of each pre-requisite lab.
- AWS account and ec2 Linux (Amazon Linux AMI) installed.
- Java installation on AWS ec2 linux instance.
- Jenkins installation on AWS ec2 linux instance.
Installation of Tomcat on AWS ec2 linux instance
Following are the step-by-step guide to install Tomcat on AWS ec2 linux instance:
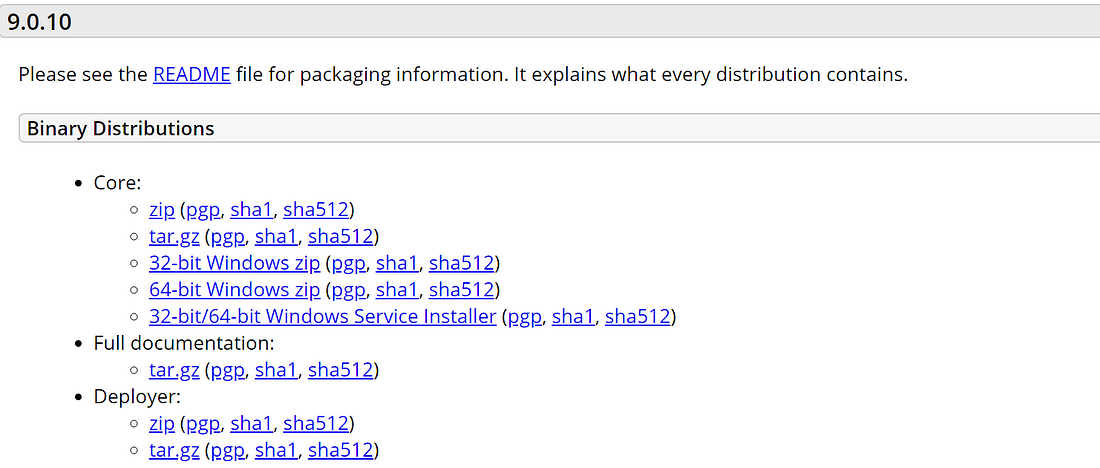
Step 1: Download Tomcat package
Go to browser –> https://tomcat.apache.org/download-90.cgi (to download tomcat9) –> Copy tar.gz from core section.
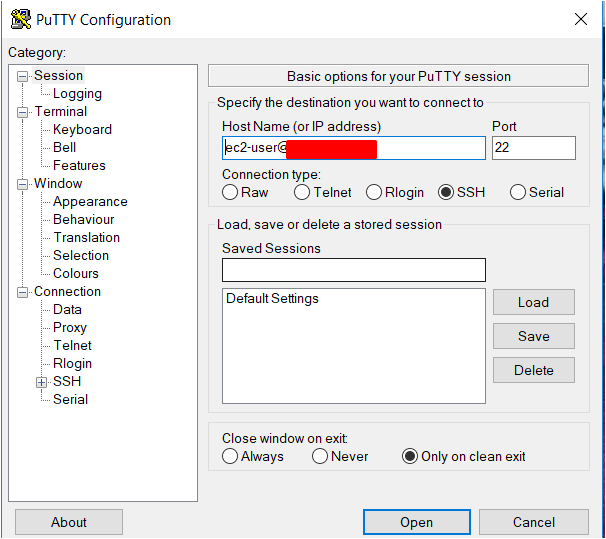
Step 2: Log in to AWS ec2 instance & load putty session (for window users)
Step 3: Install & unzip the tar.gz folder
Go to the terminal & type the following commands:
[ec2-user@ip-xxx-xx-xx-xx] sudo -i
[root@ip-xxx-xx-xx-xx]$ wget <paste the tar.gz address copied in step1>
Now Tomcat has been downloaded, check with “ls” command. Further Unzip the folder:
[root@ip-xxx-xx-xx-xx]$ tar -zvxf apache-tomcat-9.0.10.tar.gz
*In case wget is not installed then firstly employ this step:
[root@ip-xxx-xx-xx-xx]$ yum install wget -y
Step 4: Start Tomcat service
Under Apache Tomcat folder, there exists two files, namely; startup.sh and shutdown.sh
- Browse to the bin folder
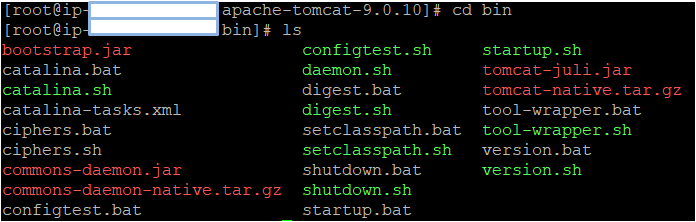
[root@ip-xxx-xx-xx-xx bin]$ ls -ltr
//to check the status of the startup services
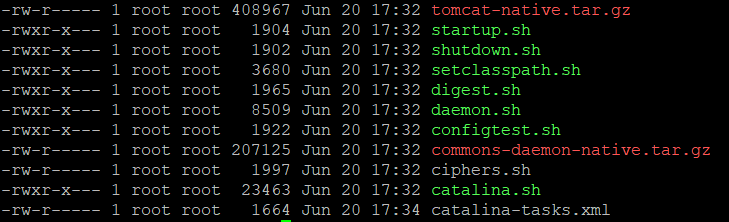
[root@ip-xxx-xx-xx-xx bin]$ chmod +x startup.sh

[root@ip-xxx-xx-xx-xx bin]$ chmod +x shutdown.sh

//For all users to execute this script
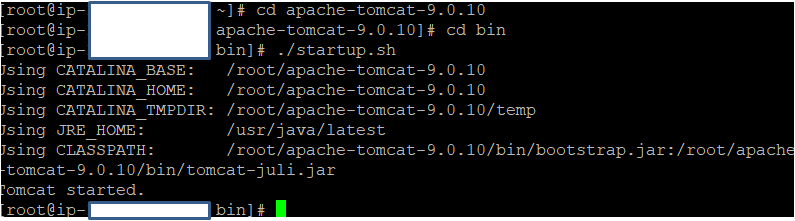
//Now lets start tomcat service
[root@ip-xxx-xx-xx-xx bin]$ ./startup.sh
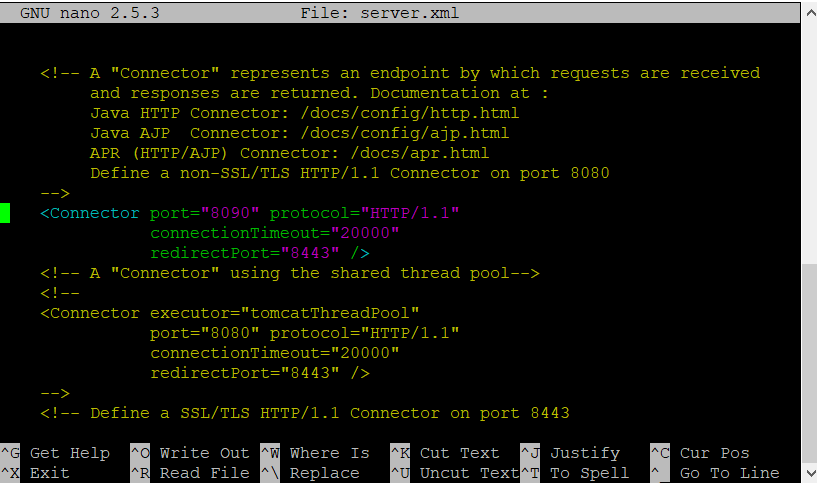
Step 5: Change port number from 8080 to 8090 (as Our Jenkins on AWS is also listening to the port 8080)
Browse to conf sub-directory under Tomcat directory and open server.xml file for editing using ‘nano’ command (vi command can also be used).

[root@ip-xxx-xx-xx-xx conf]$ nano server.xml
Restart the tomcat service (browse to the bin folder)
[root@ip-xxx-xx-xx-xx bin]$ ./shutdown.sh

[root@ip-xxx-xx-xx-xx conf]$ ./startup.sh
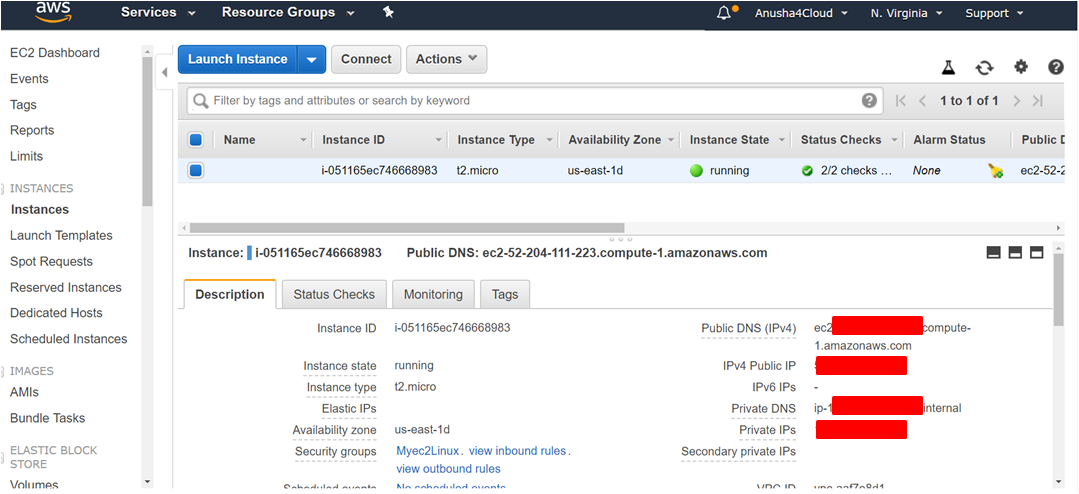
Step 7. Allow port no 8090 under security group in AWS
- Go to Your AWS account –> ec2 linux instance
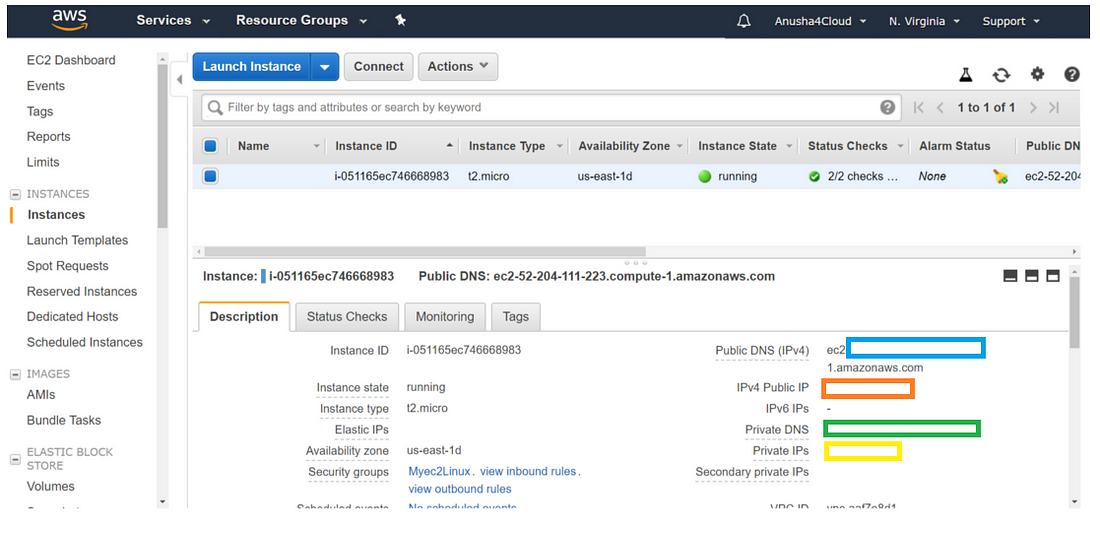
- Got to the related security group (in this case: Myec2Linux)
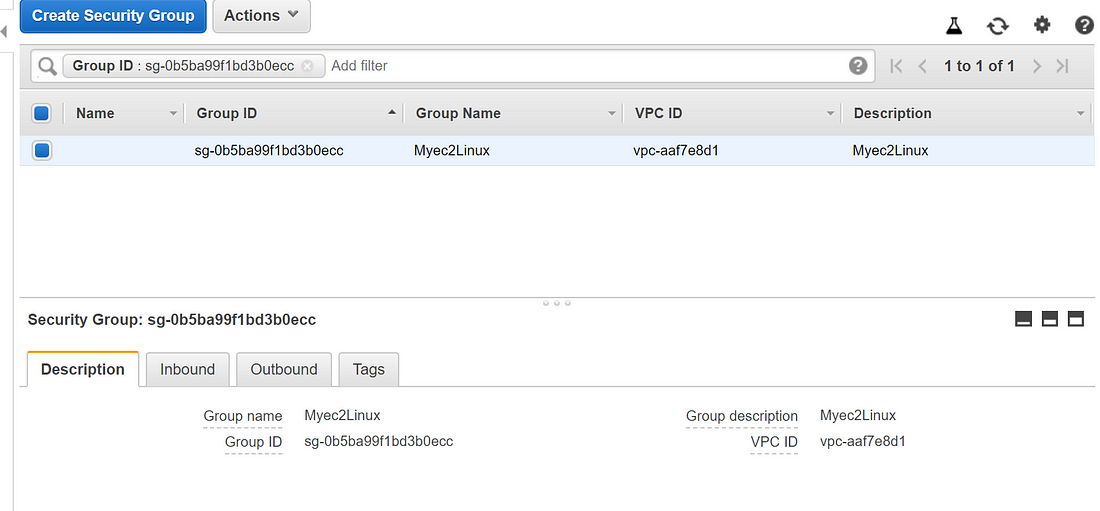
- Click Inbound Rules
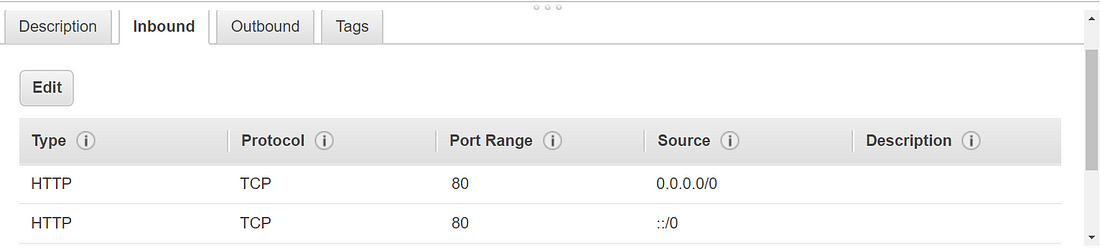
- Edit Inbound rules
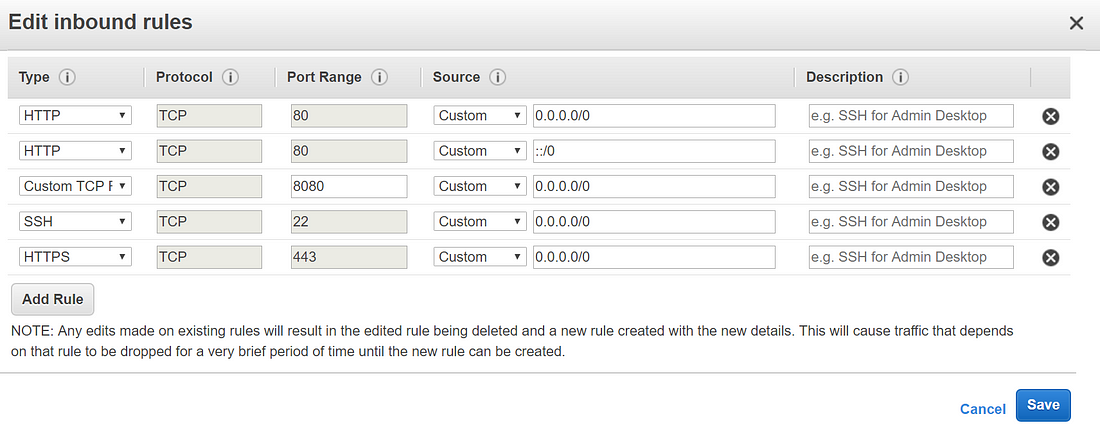
- Add 8090 port no and allow it to be public
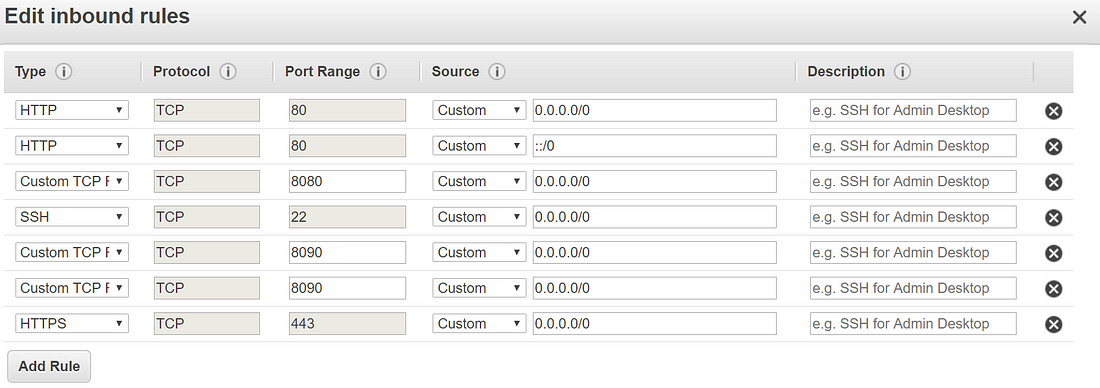
- Go to Browser and type- http://<ip_address>:8090
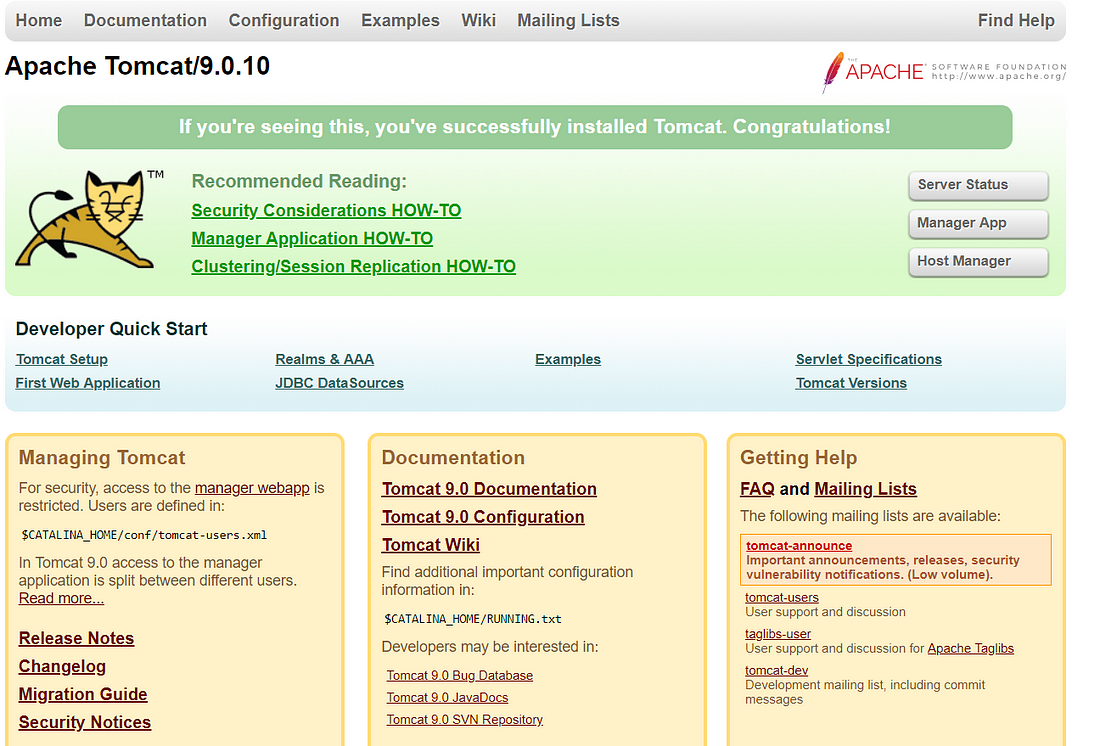
Step 8: Edit the context.xml
By default the manager is only accessible from a browser running on the same machine as Tomcat. Therefore to modify this restriction, go to context.xml file and comment out the default IP address.
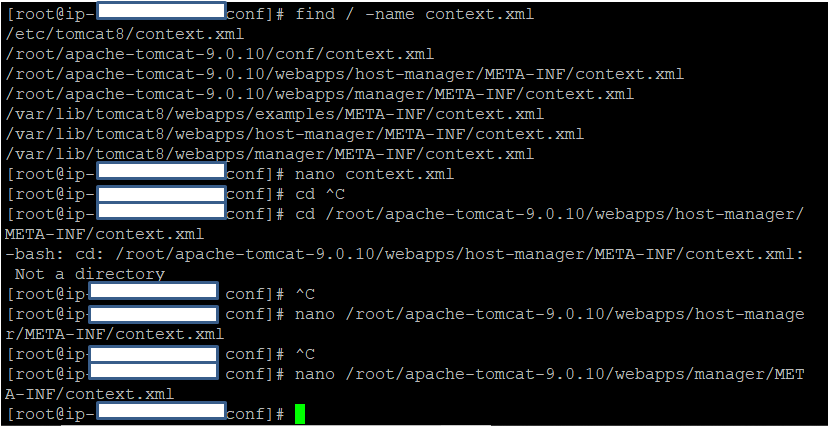
Use the ‘find’ command to find the context.xml
[root@ip-xxx-xx-xx-xx conf]$ find / -name context.xml
You will get a list, and edit context.xml within webapp, both under host-manager and manager.
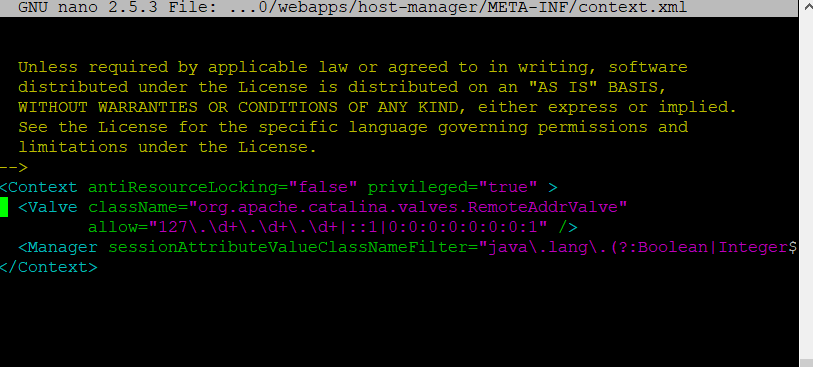
Comment out the value section:

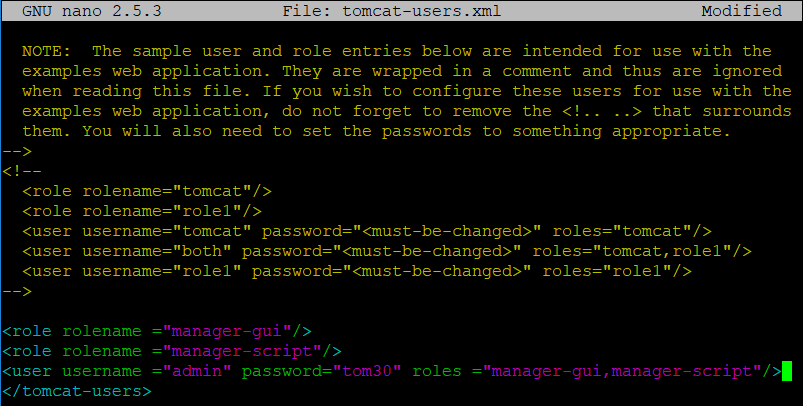
Step 9. Specify the roles and the users:
Browse to the conf directory and open the tomcat-users.xml for editing.
[root@ip-xxx-xx-xx-xx conf]$ find / -name context.xml

Step 10. Restart Tomcat service
Integration with Jenkins
Following are the steps to integrate with Jenkins:
Step 1. Install Jenkins on AWS ec2 Linux (Clickhere).
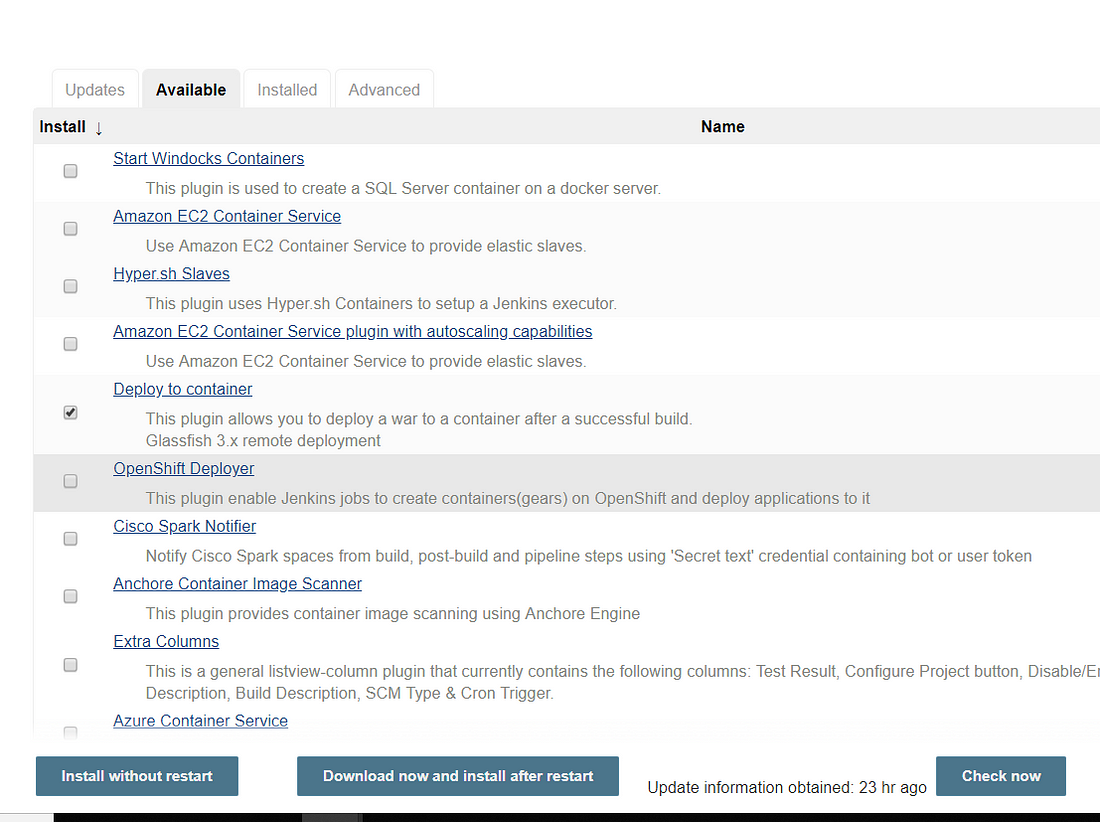
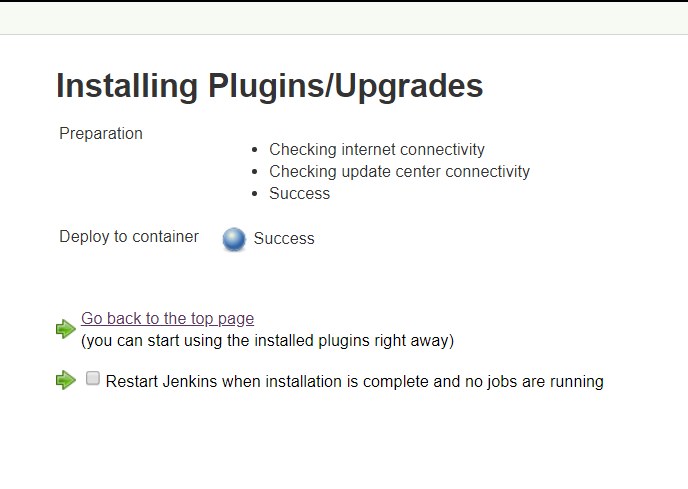
Step 2. Install ‘Deploy to container’ plugin from Manage Jenkins –> Manage Plugins –> Available –> ‘Deploy to container’
Step 3. Create a freestyle project
- Check out the Java code (that will create WAR) from github.
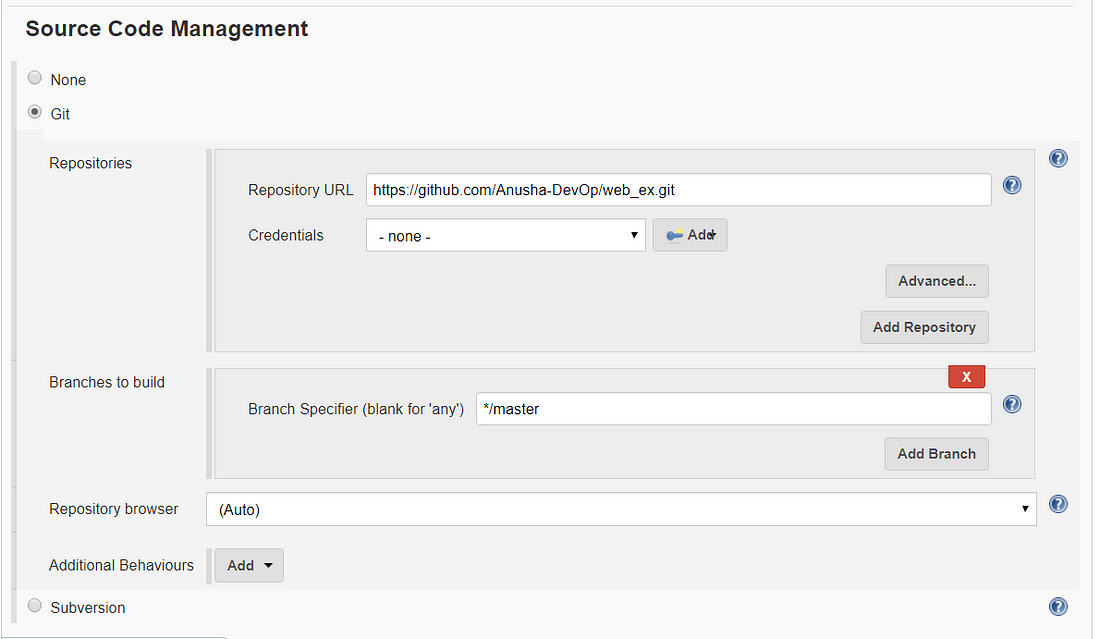
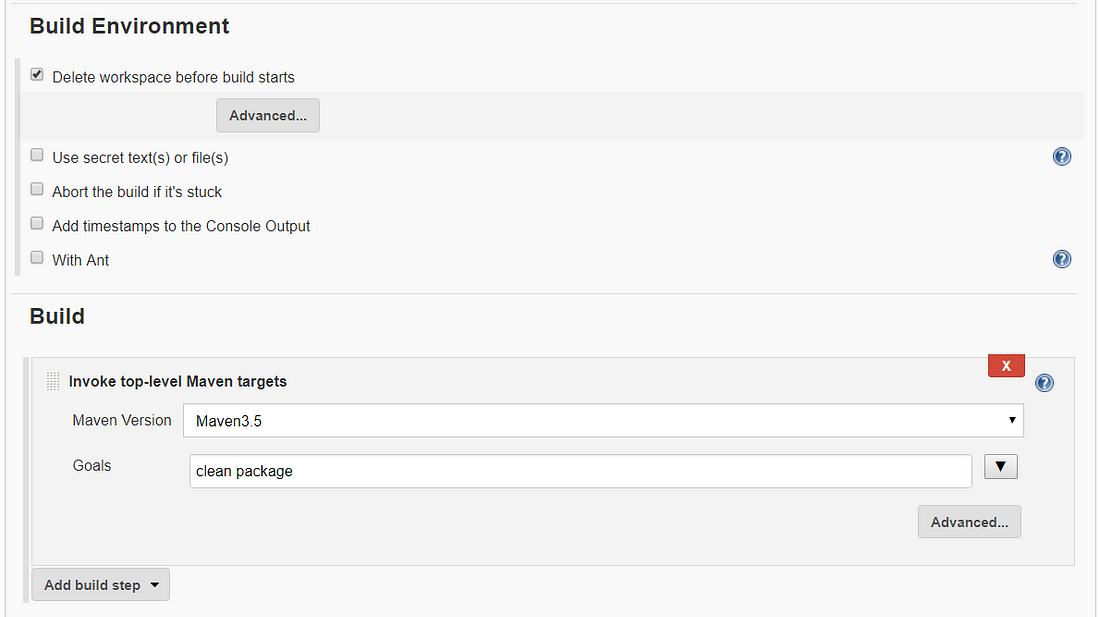
- Invoke top-level Maven target
- Add post-build action : ‘Deploy war/ear to container’
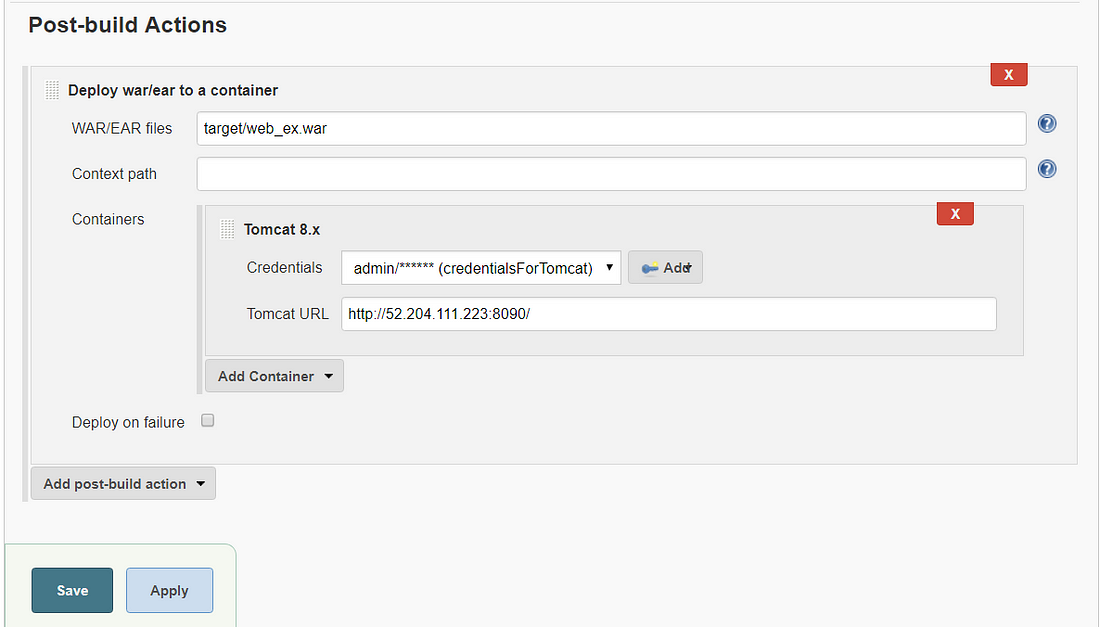
Click Save & build now.
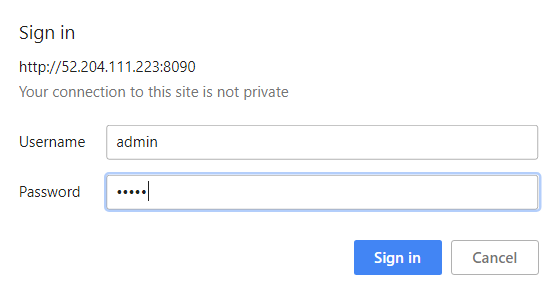
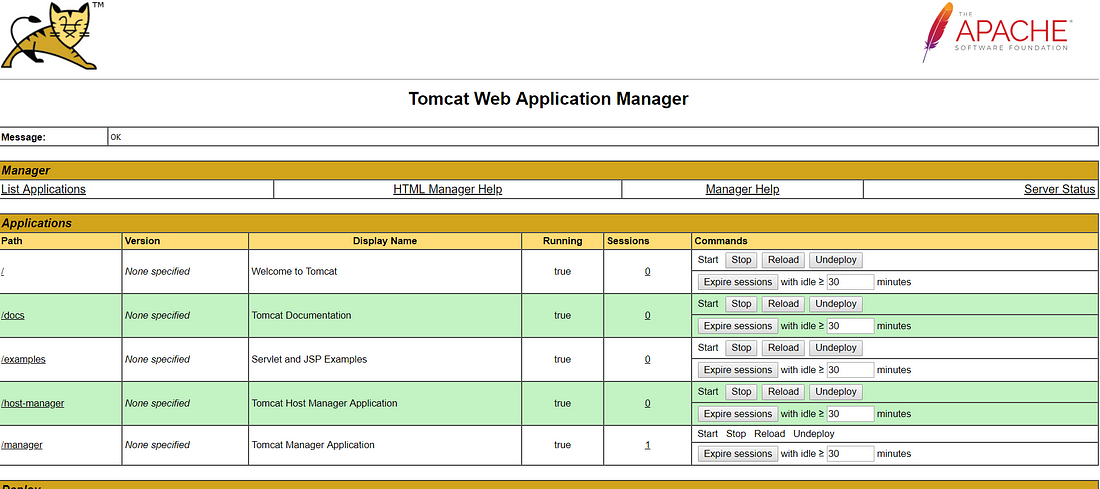
- Go to browser : http://<ip_address>:8090 and log in manager app
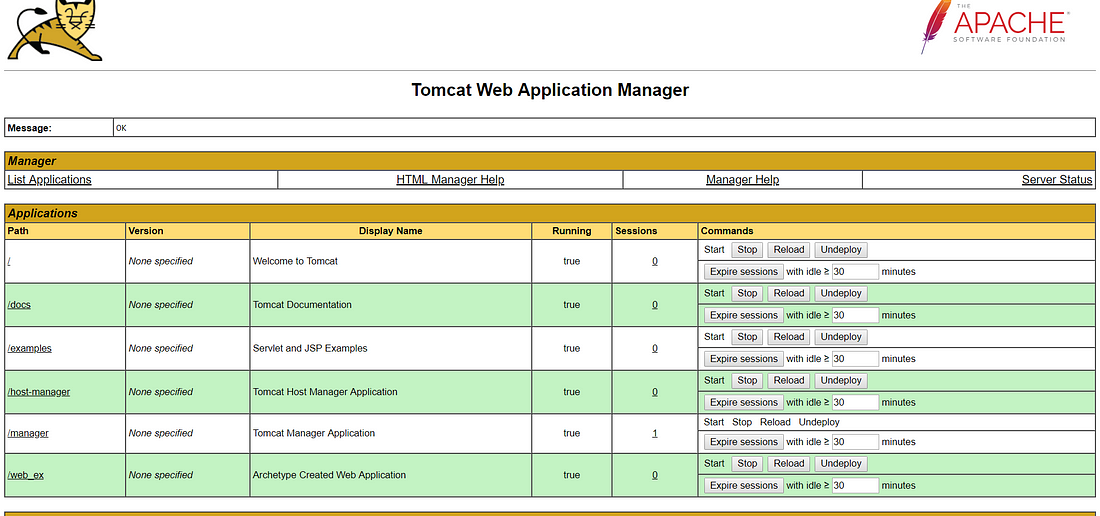
You will see your war file deployed to tomcat (in this case ‘web_ex’).
Voila!! Congratulations !!
You have done a great job. All steps meticulously followed.